Bellingham to Byrness
The way points on this map are taken from my GPS Spot tracker.
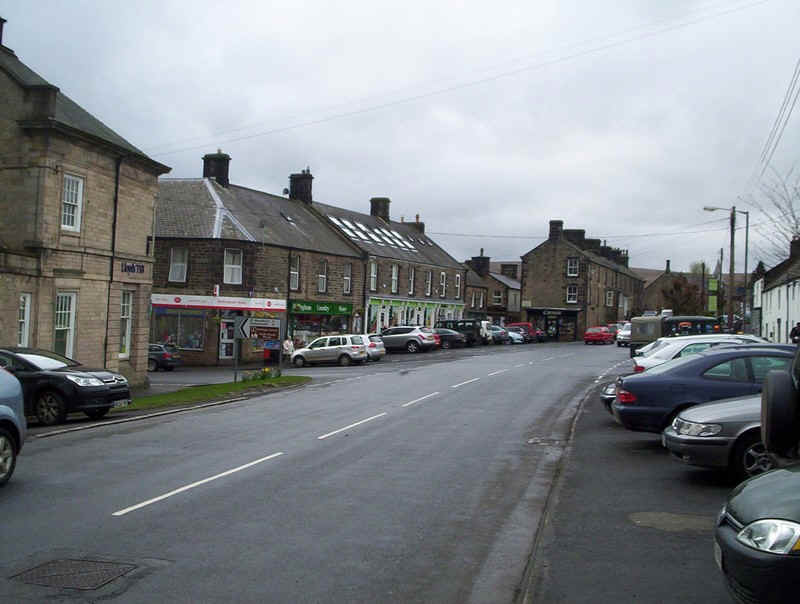
The penultimate stage of the Pennine way, from Bellingham to Byrness is 15 miles (24km) long. Some guide books suggest it is an easy day, but I'm not convinced by that. True, it's relatively short and took me about six and a half hours including breaks, but the paths are occasionally difficult to find and there are extremely boggy sections in places, which slow down progress.
Having arrived in Bellingham by bus from Hexham the PW leaves the main square at Bellingham down the road to the left in the photo above.
Follow the signs for the Heritage Centre which is up the hill....
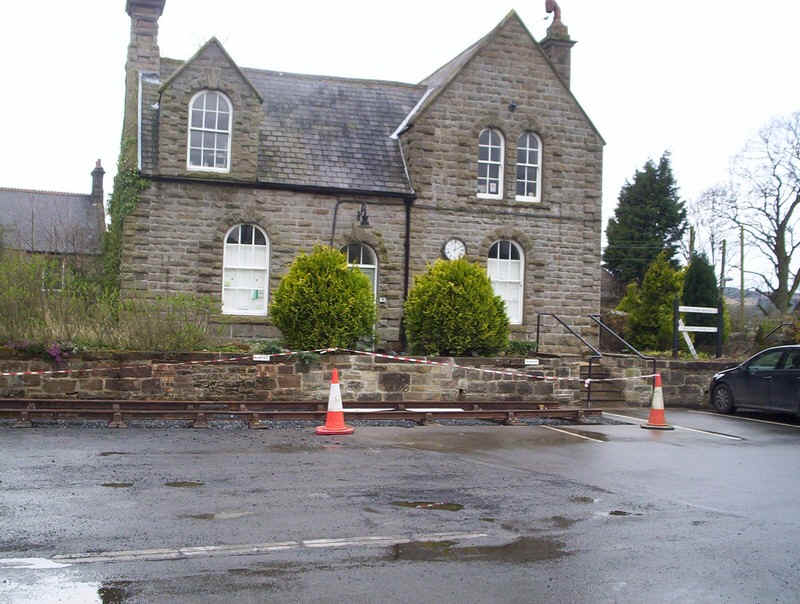
...in what was once the railway station. here is the original station building complete with a length of track.

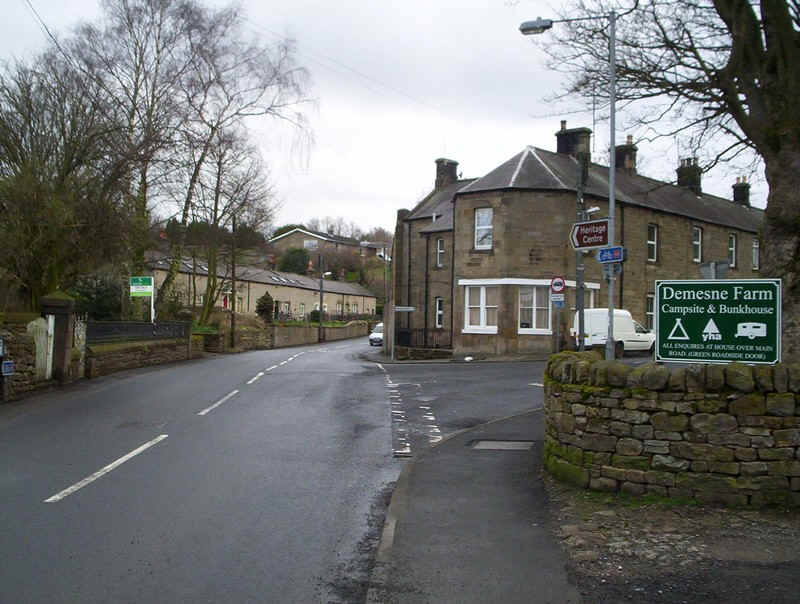
Leaving the town the PW follows the road...
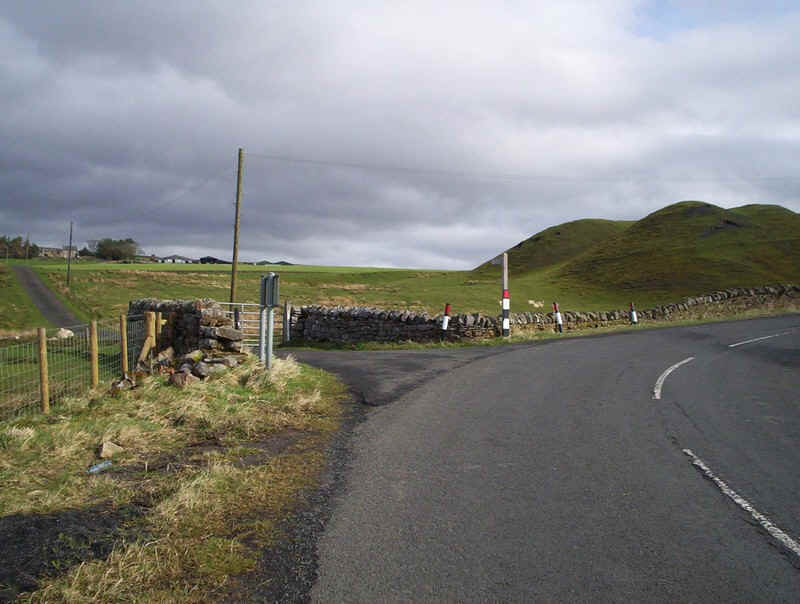
.... to this bend where it heads off up a farm track.
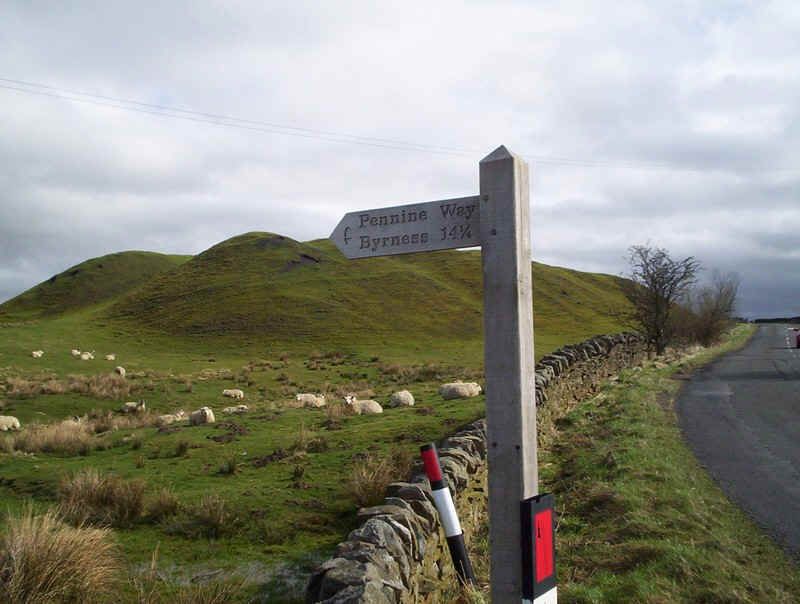
Signposts with this sort of distance are relatively rare on the PW but the challenge was clear. I wanted to by at Byrness by six o'clock for a meal at the youth hostel and it was now almost noon.
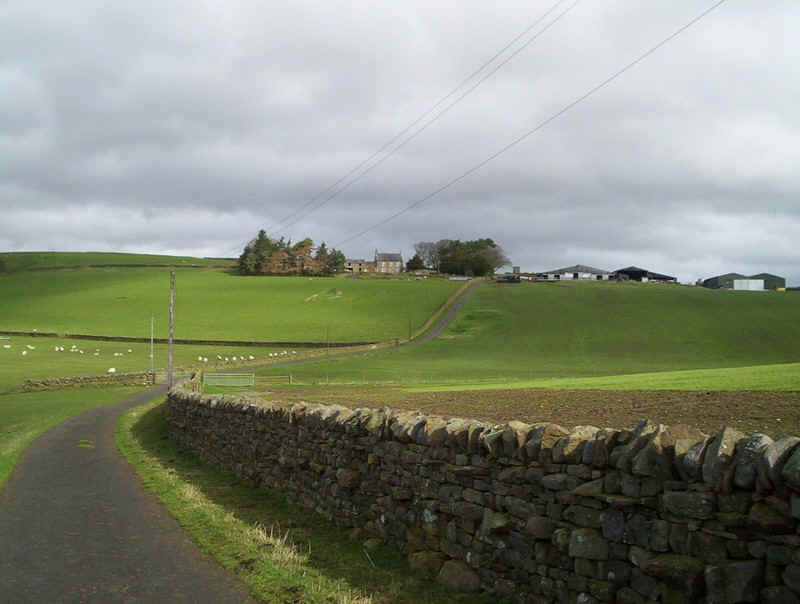
The lane is followed up to Blakelaw Harm...
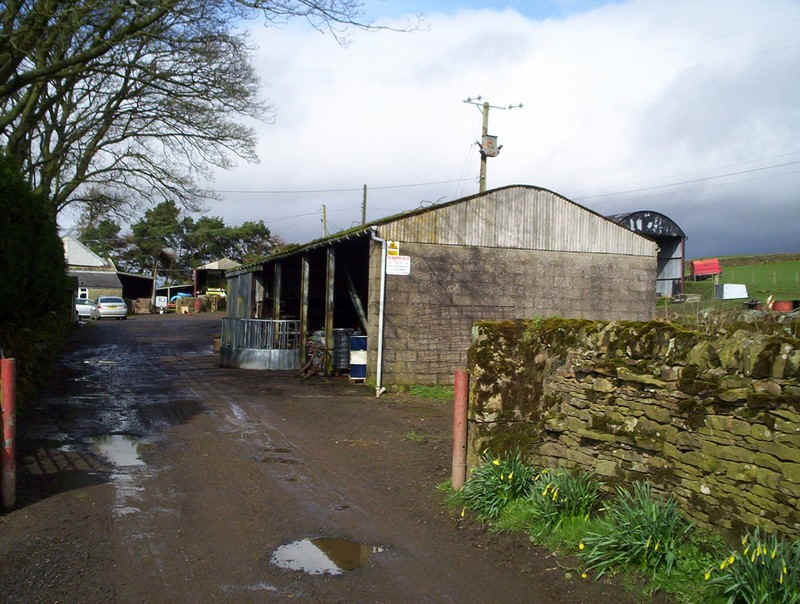
.....where it goes through the farmyard..
.......to reach the open hillside.
Several marker posts guide you across the pathless fields....
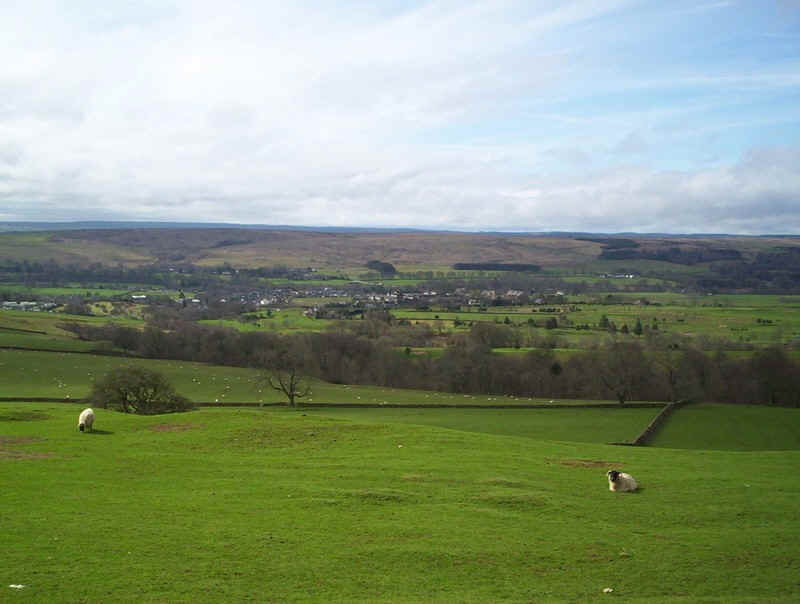
......with a good view over Bellingham to the south west.

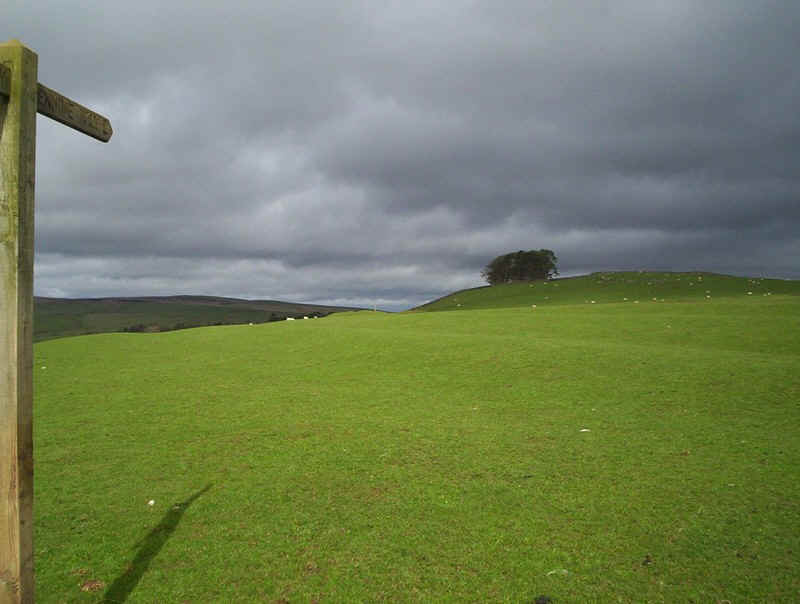
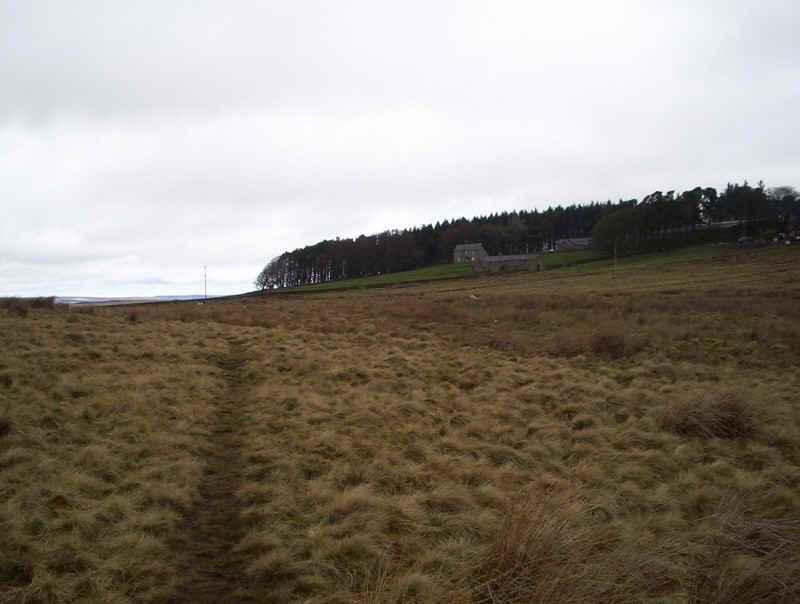
The way heads towards the wood on the skyline..
.....where it reaches the intake wall.
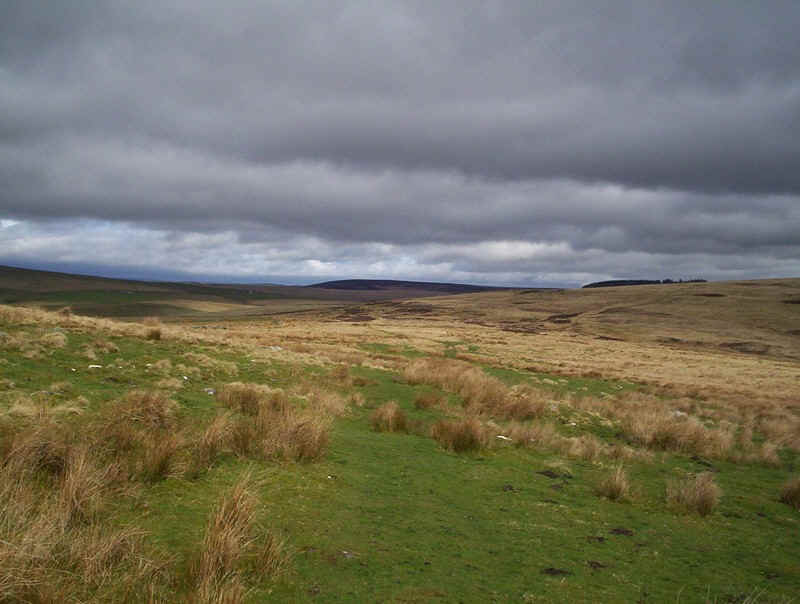
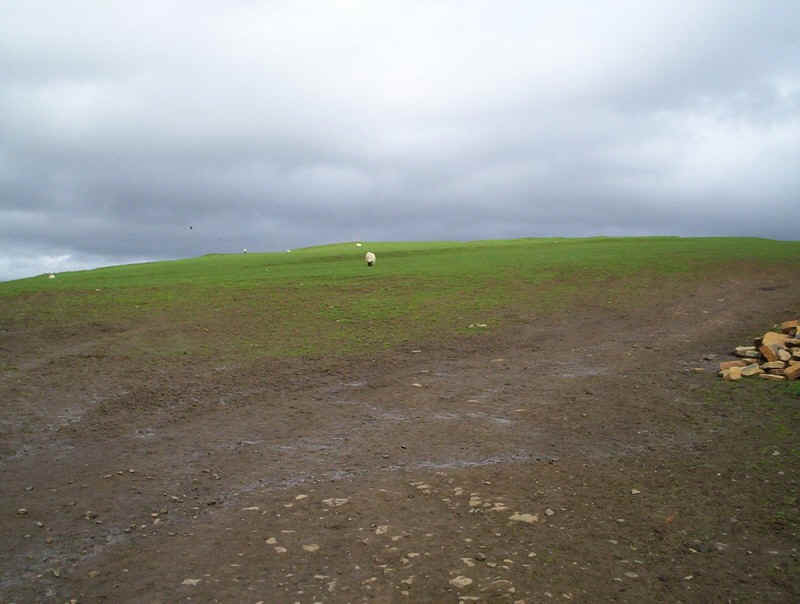
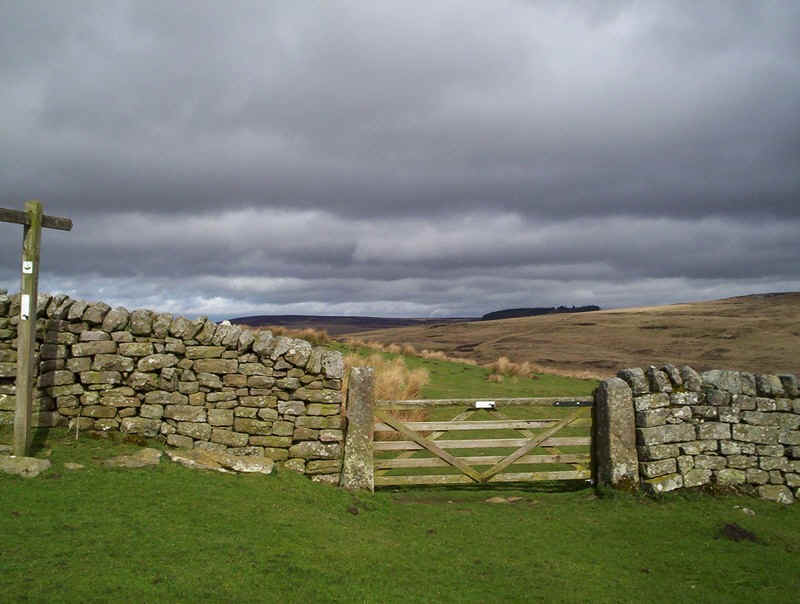
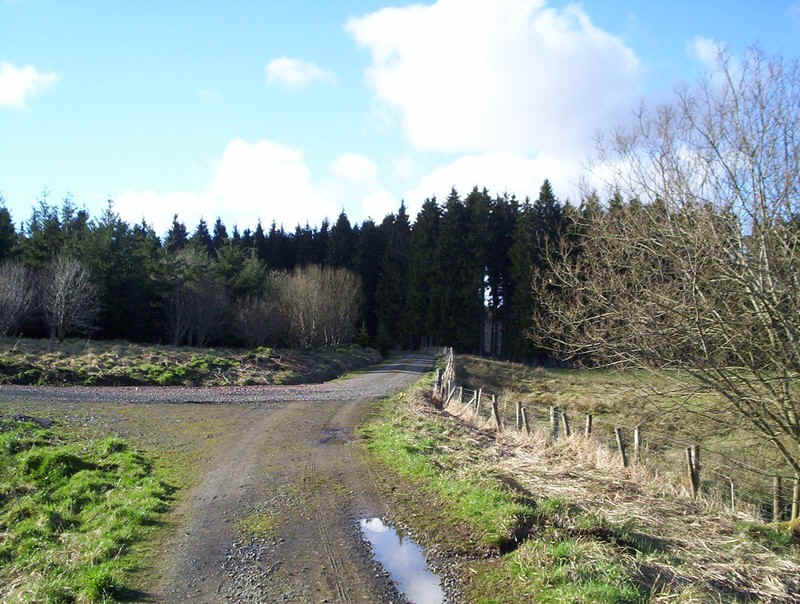
Beyond the gate the track crosses the open moor....
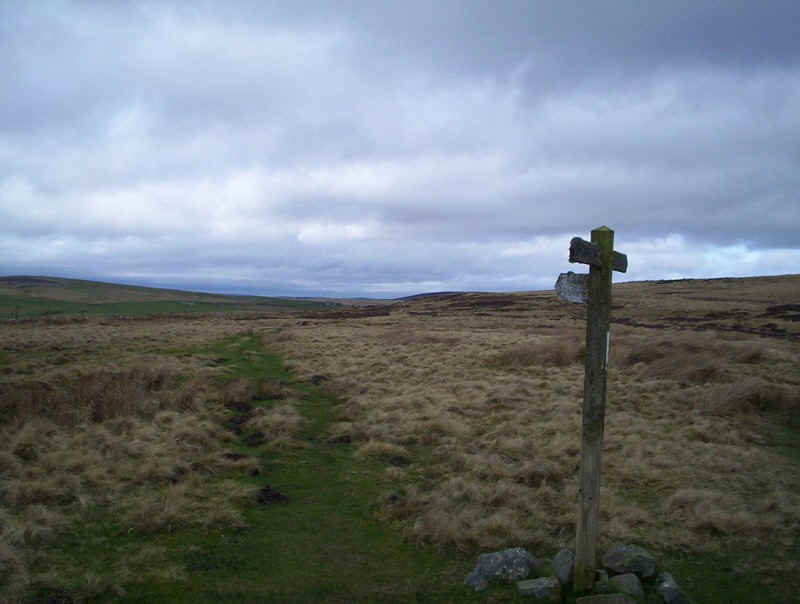
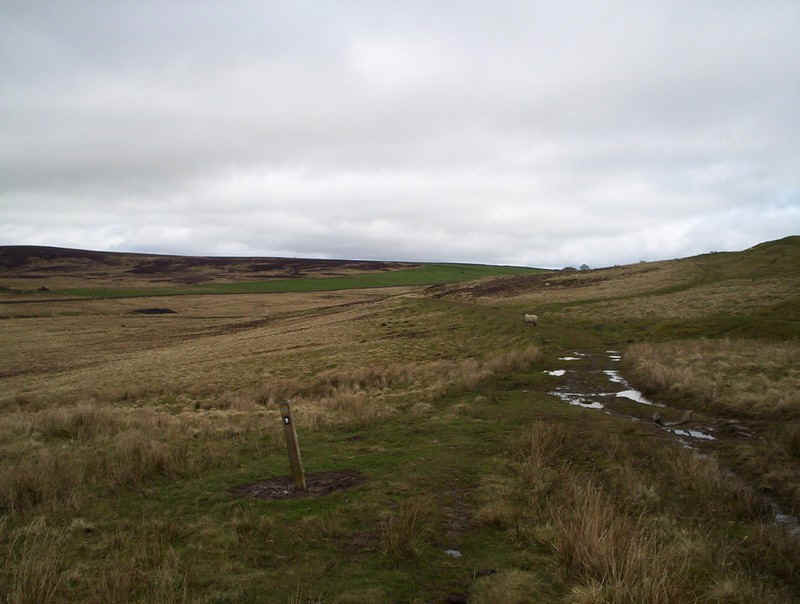
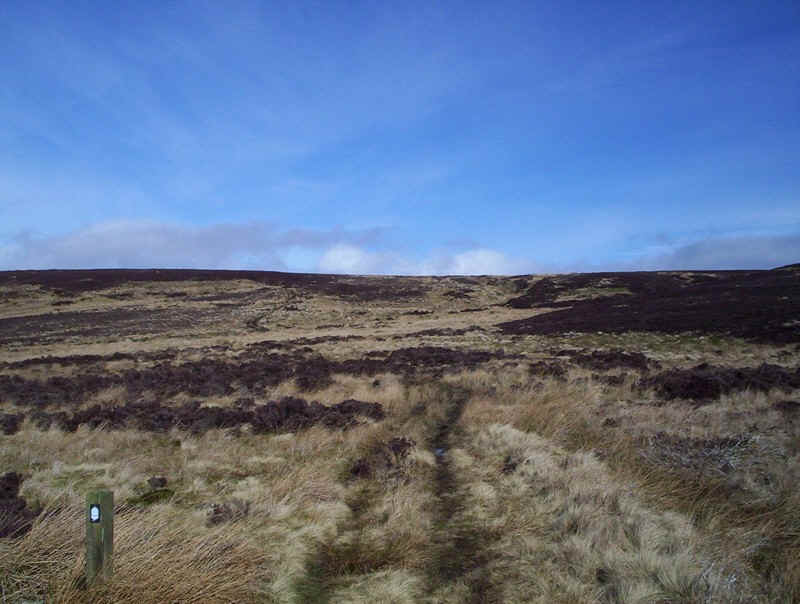
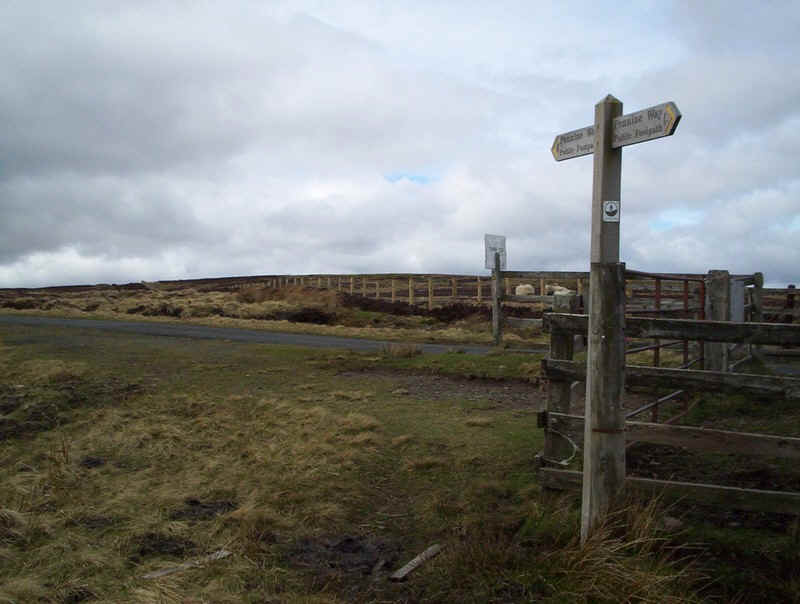
...to this signposts. The true PW heads off to the right whilst the "alternative Pennine Way" route heads straight on. I took the true path....
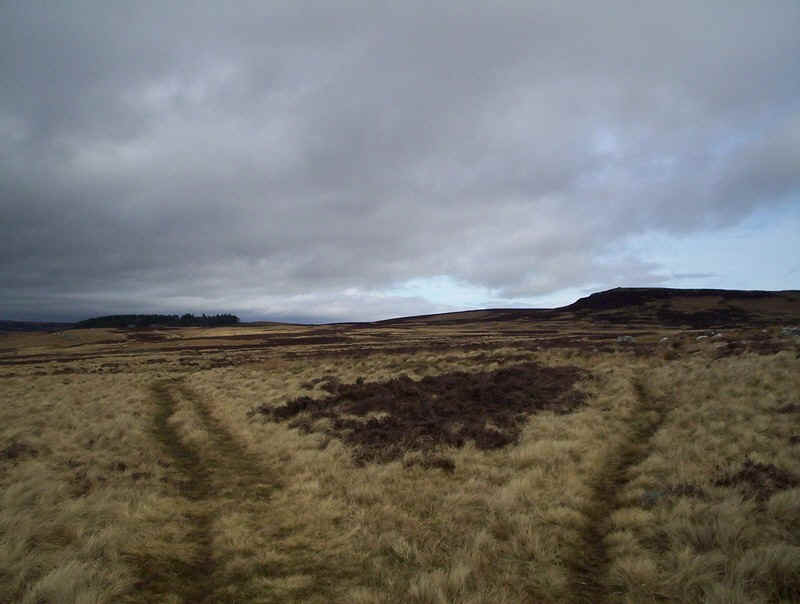
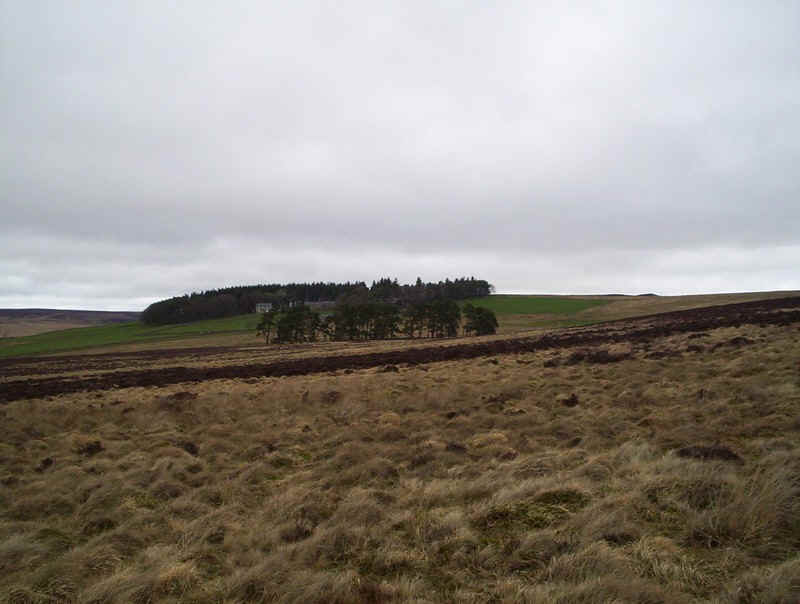
but soon found myself running out of path. There were numerous walker's and sheep paths but as they kept splitting and then heading off in different directions I decided the best course was to walk...
....in as straight a line as possible for the small copse visible in this photo.
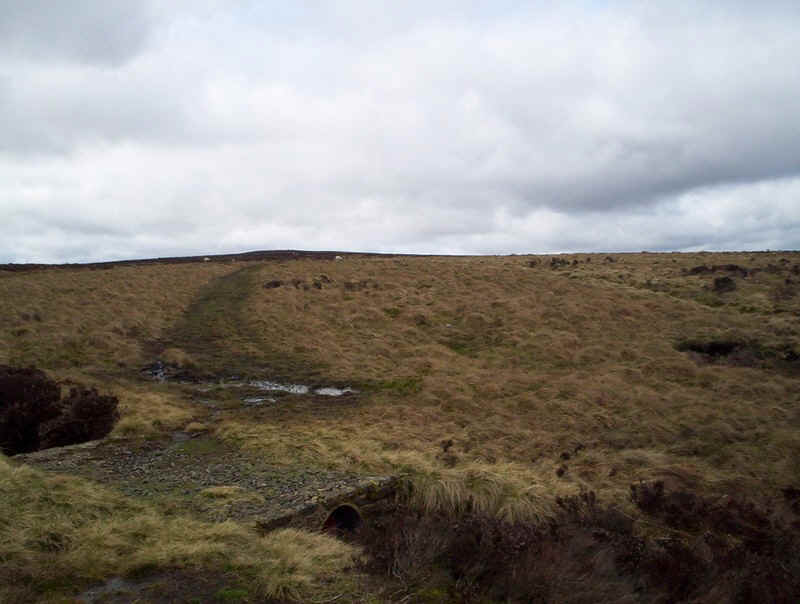
The moor was inevitably tussocky and wet but...
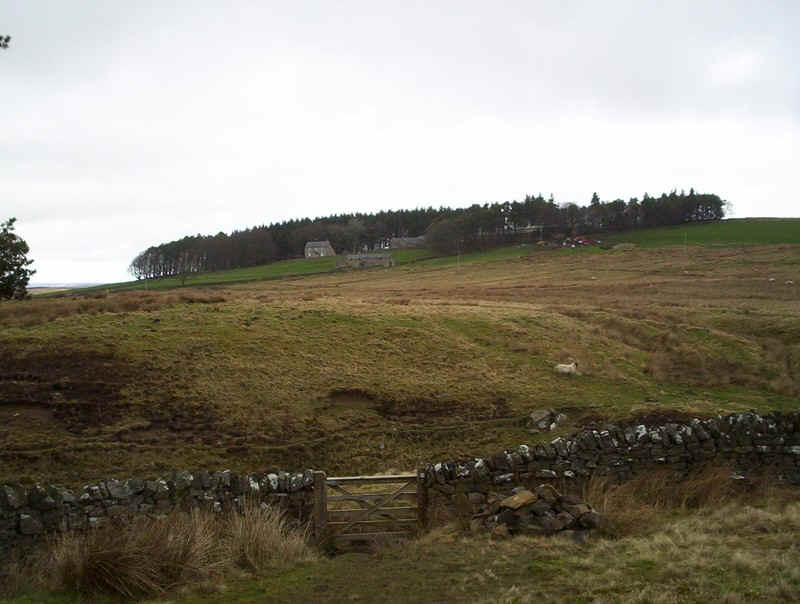
....by the side of the coppice a gate in the wall bears an acorn sign so, after a lunch break,....
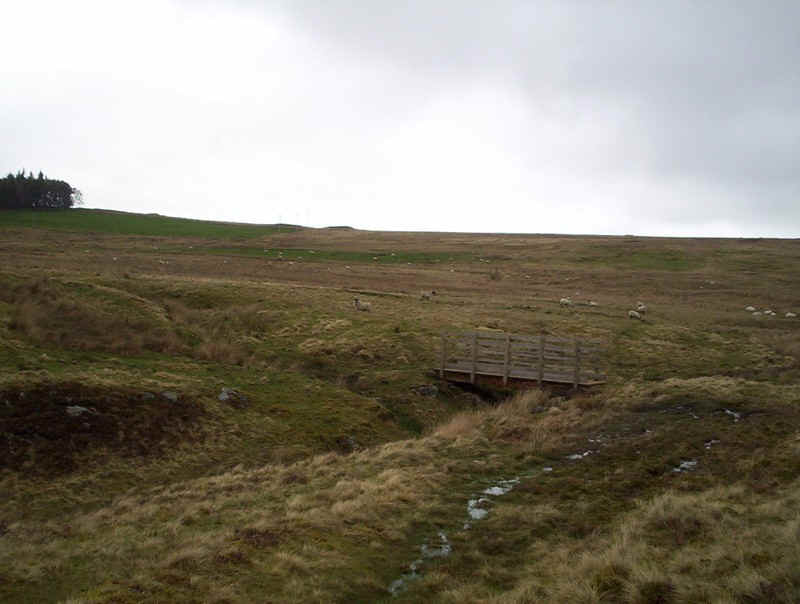
.....it was over the footbridge....
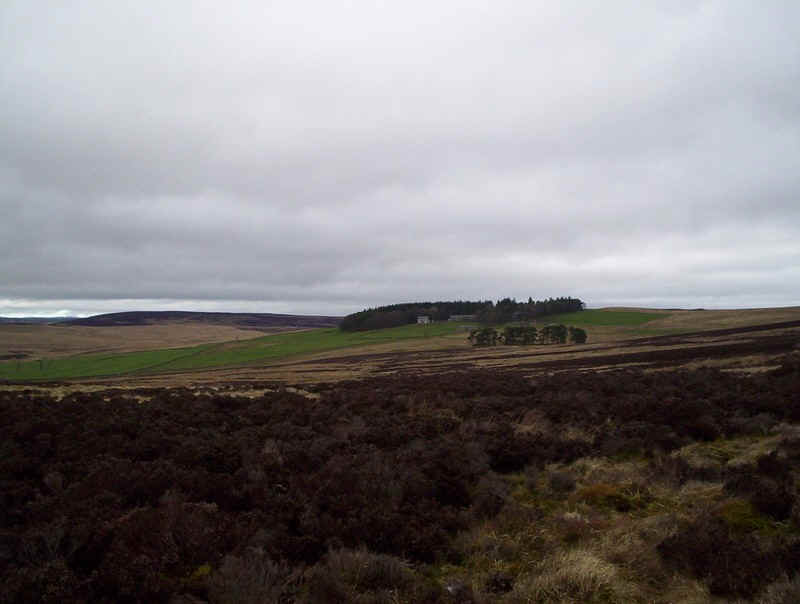
....and along the clear path that leads...
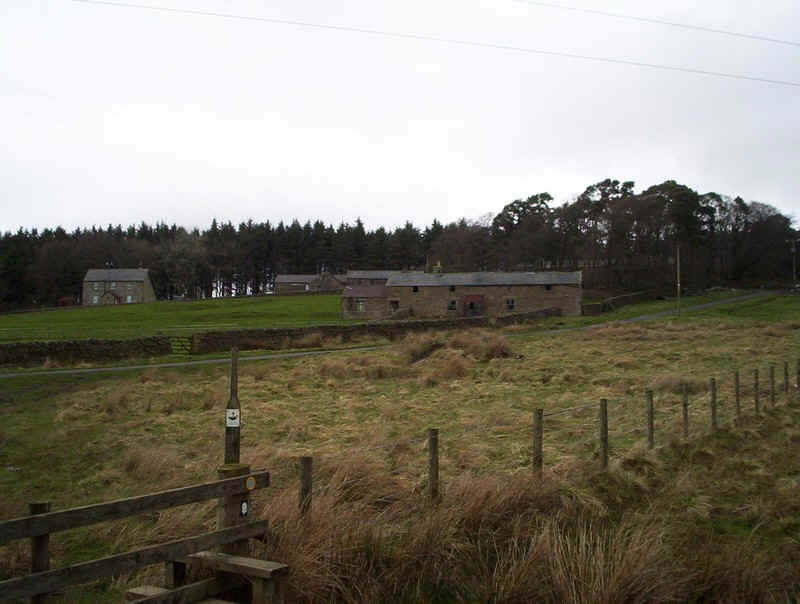
....towards the access lane to Hareshaw House and its collection of buildings.
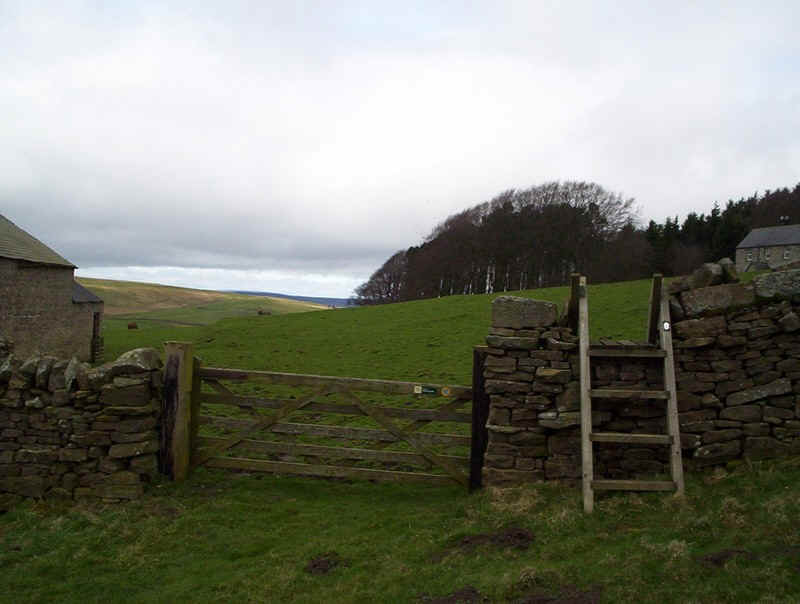
Almost immediately the PW goes over a stile and across the meadow...
....to reach open moorland again...
.....at the intake wall.
Way mark posts show the way....
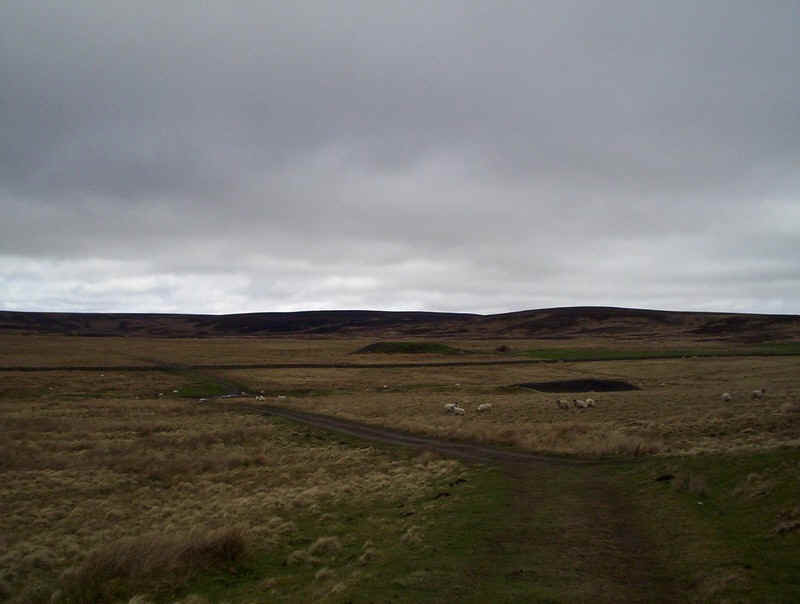
.....along tracks towards the B6320..
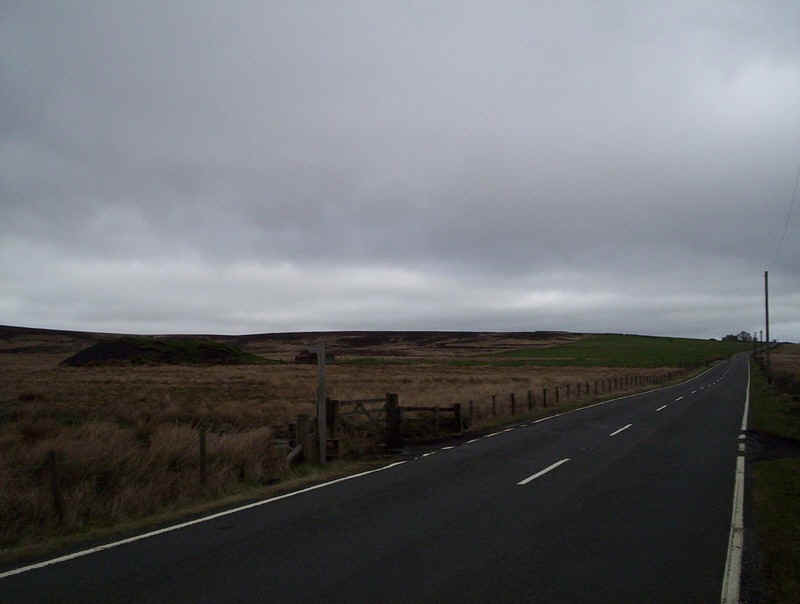
.....where evidence of former coal mining can be seen in small spoil tips dotted around the moor.
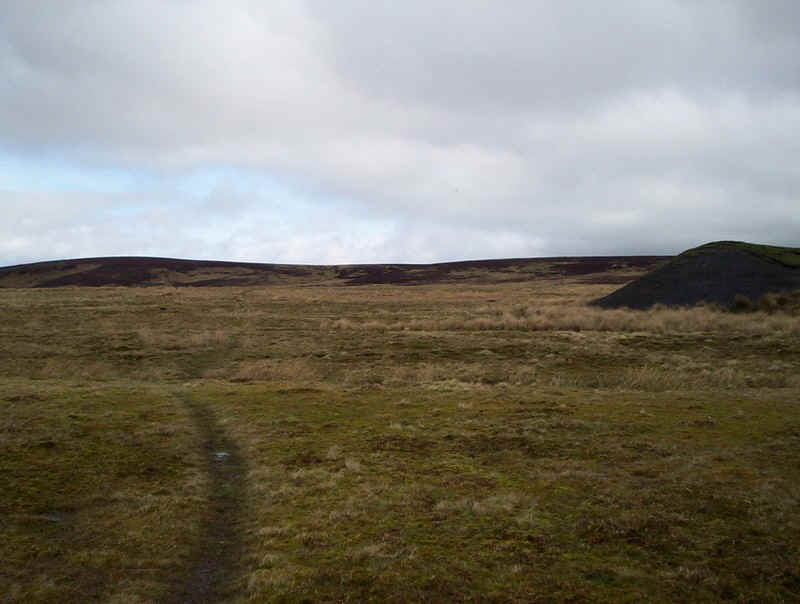
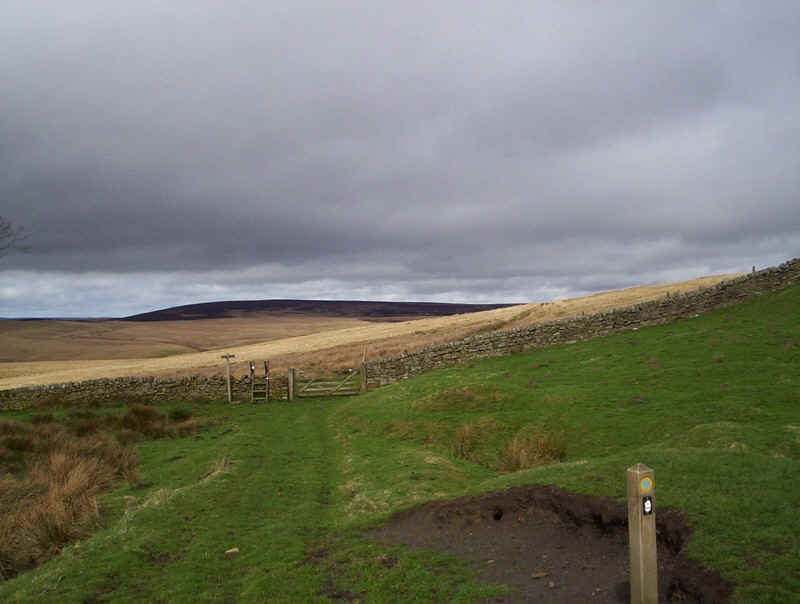
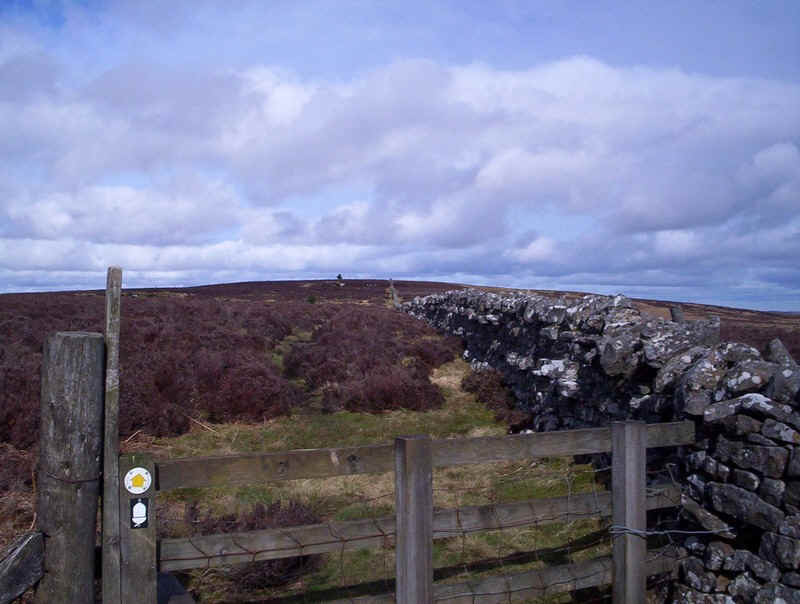
Once over the road the PW heads towards one of these tips and a ruined building...
....before beginning the gentle climb up to Deer Play.
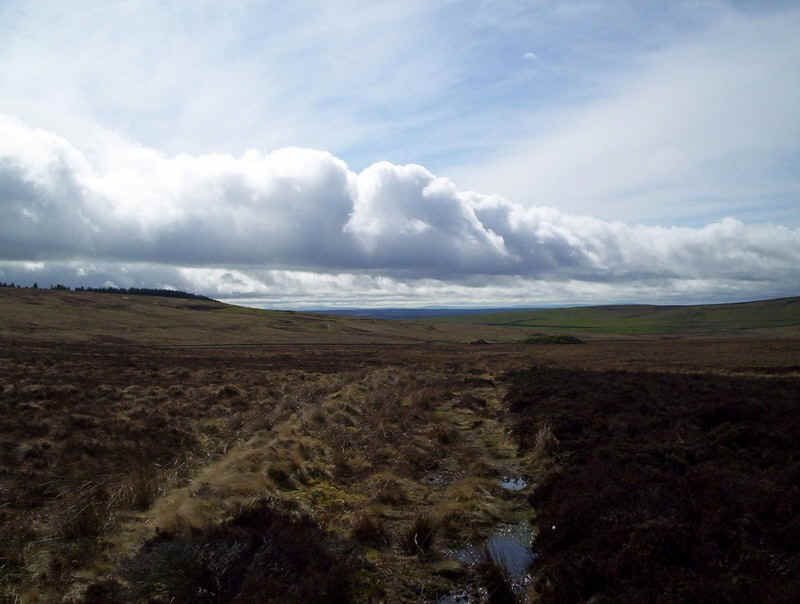
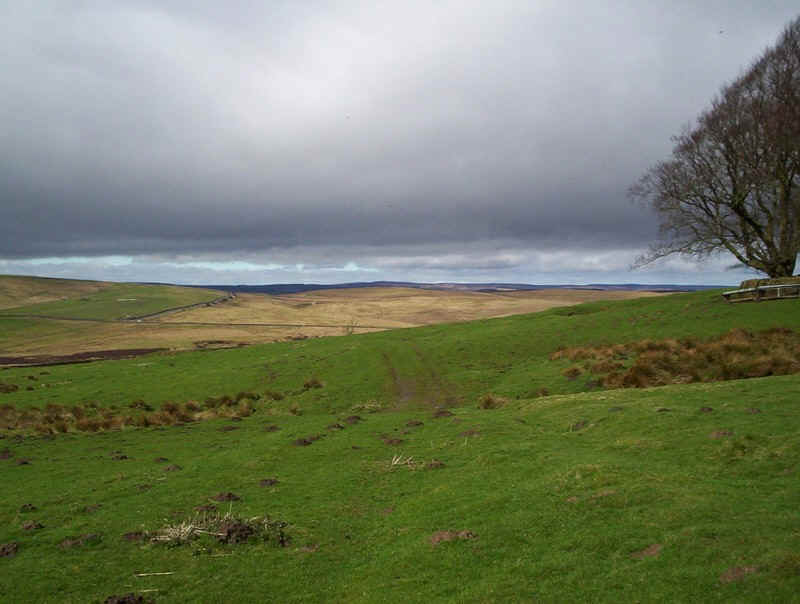
Looking back the Pennines can be seen far in the distance.
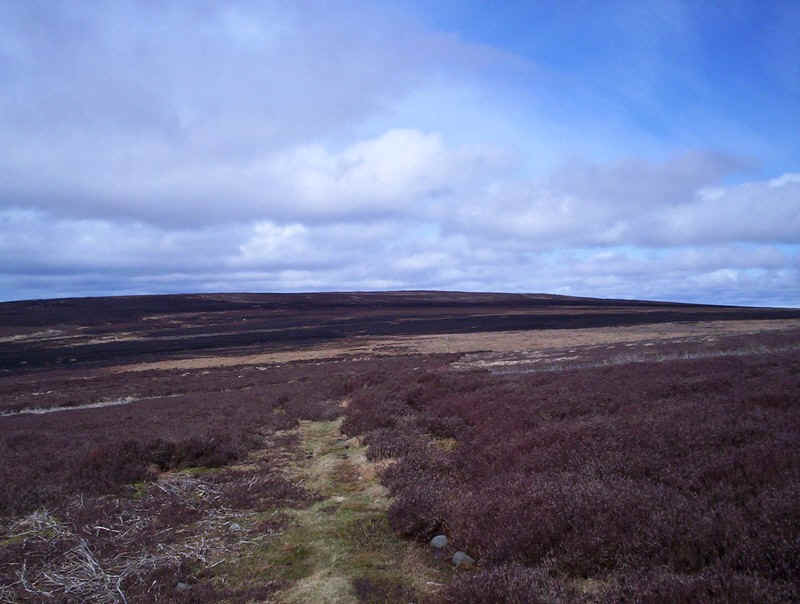
The PW continues reasonably clearly across the moor..
With the odd way mark post to guide you...
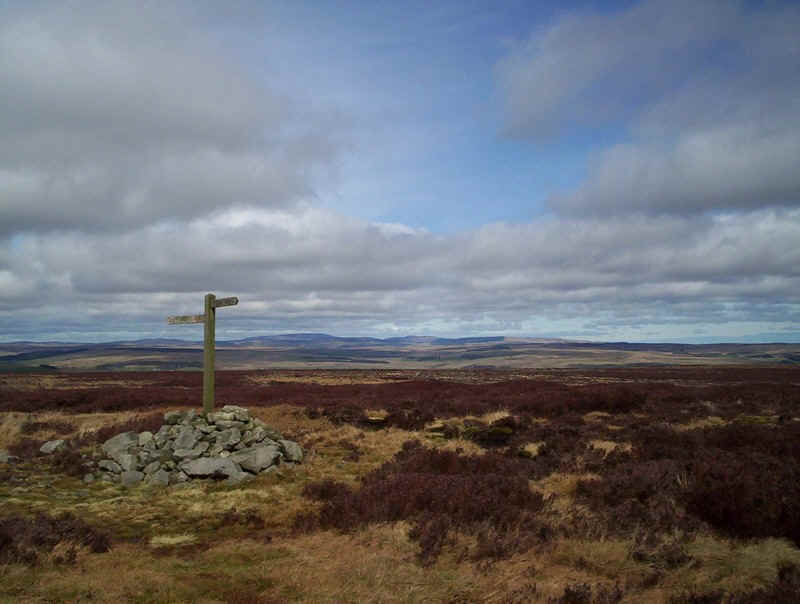
....until the summit cairn and sign at Deer Play is reached at 361m above sea level,
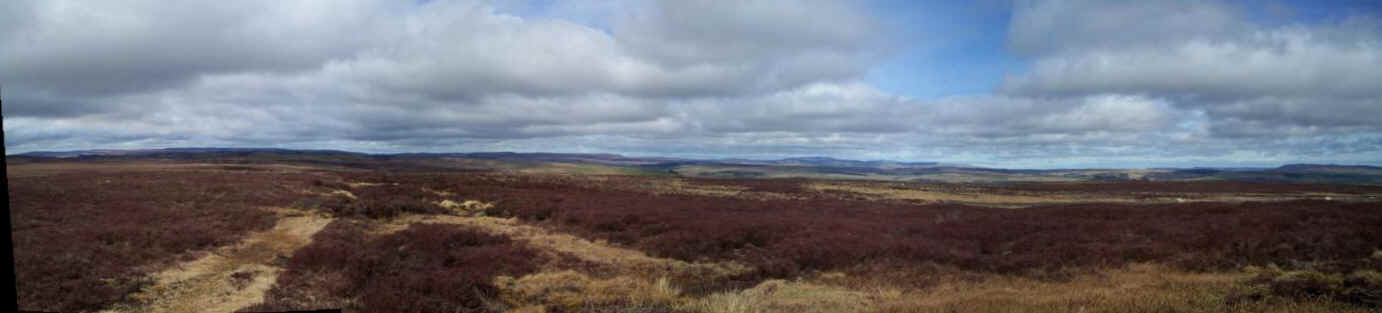
Looking north this panorama shows the Cheviots for the first time. Click on the photo for a larger view.
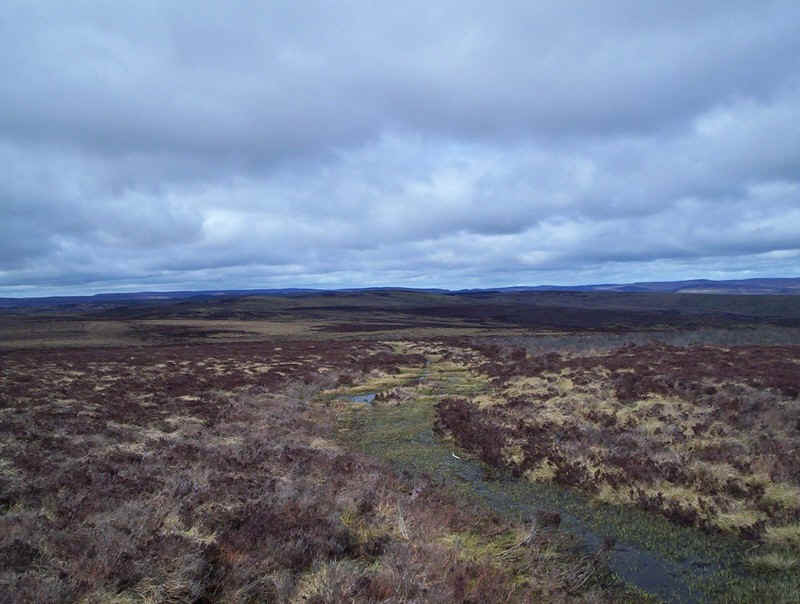
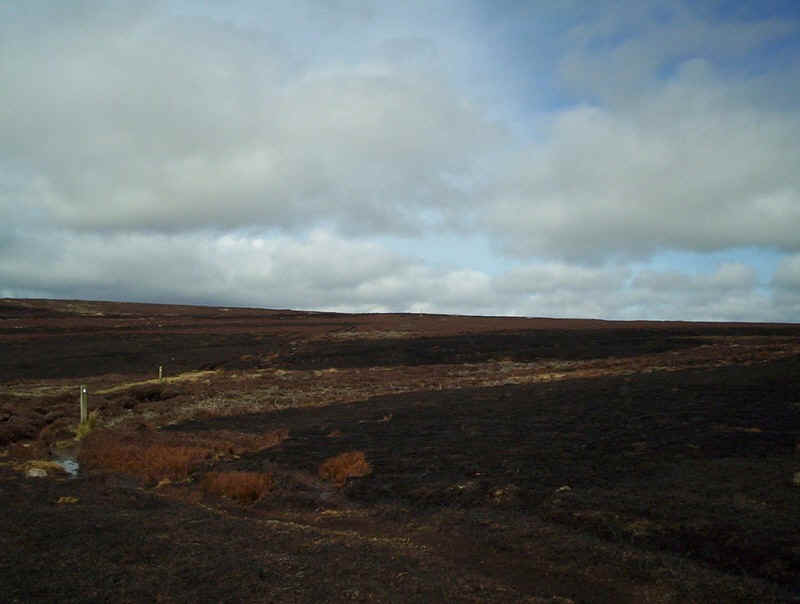
The way is now across increasingly boggy moorland....
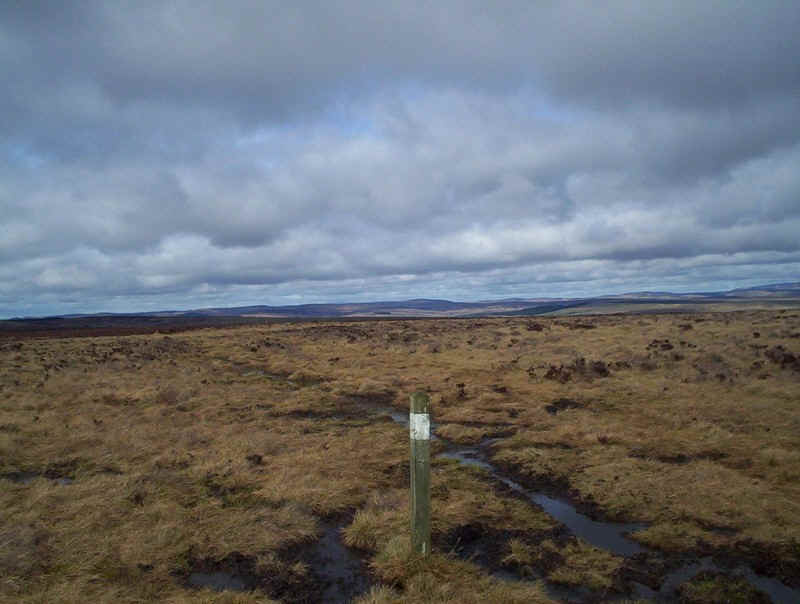
.....although the way forward is marked by posts.

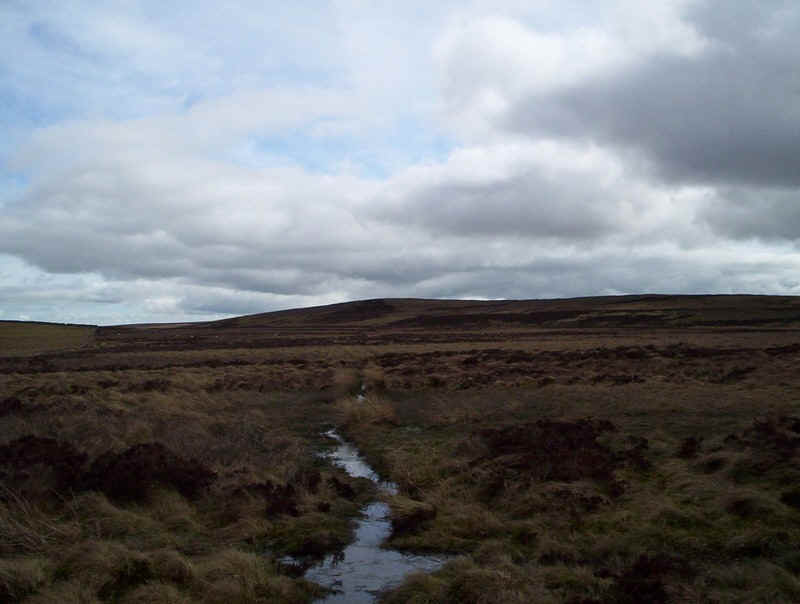
The path drops down to a stream before...
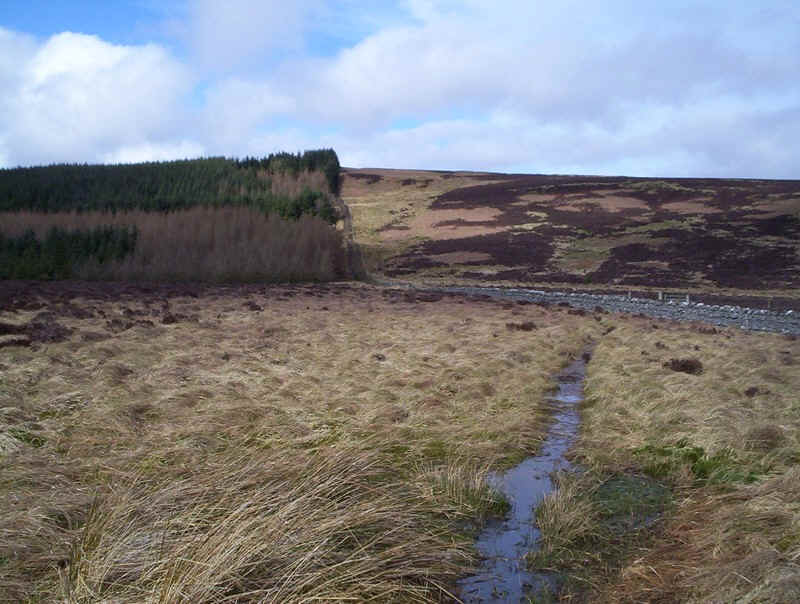
....climbing towards Whitley Pike.

....where there is a damaged signposts and a PW marker stone.
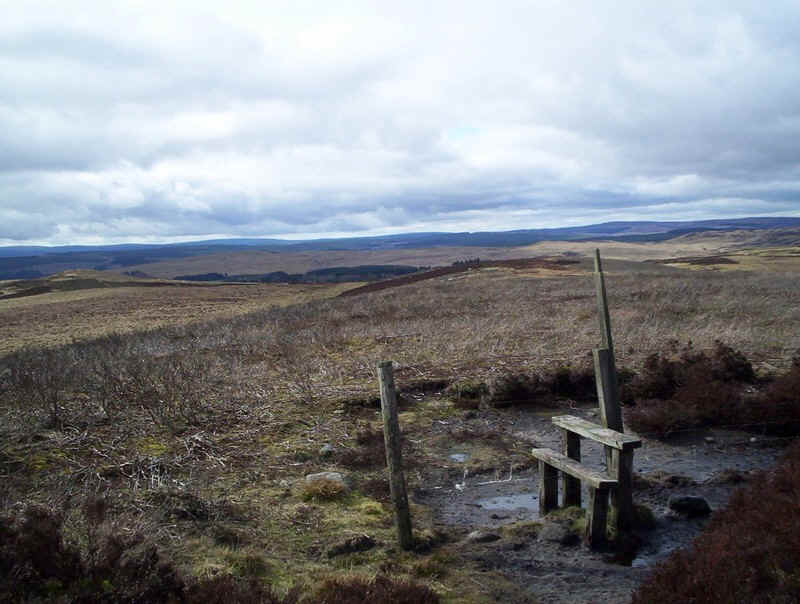
The PW crosses this stile and disappears...

Initially, I headed straight on but realised quickly that I was going in the wrong direction - the woods in the distance was much too far west.
A quick check of the map showed that I should probably have walked close to the fence that runs down the hillside towards a country road. The photo above is looking back towards Whitley Pike.
Once down at the road the signs reappeared and....
.....for the next mile or so a well defined, and largely dry, path continued ....
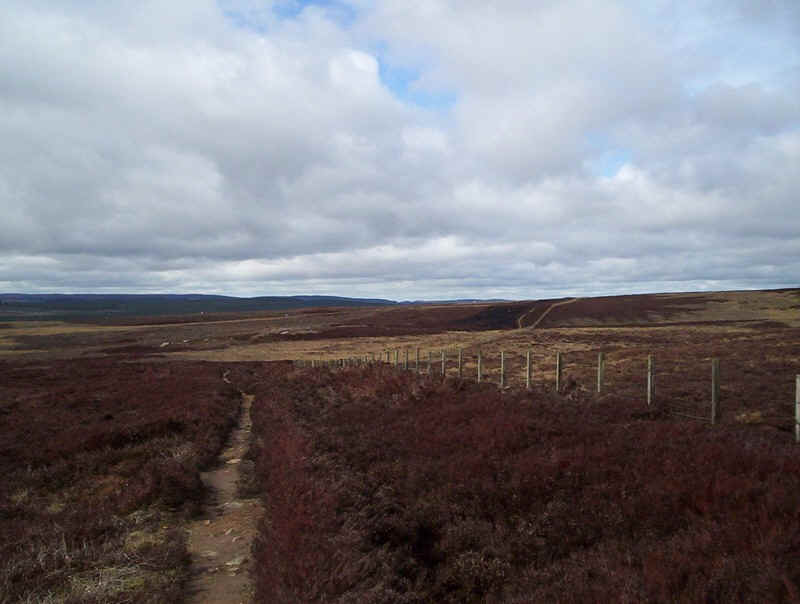
....by the fence...
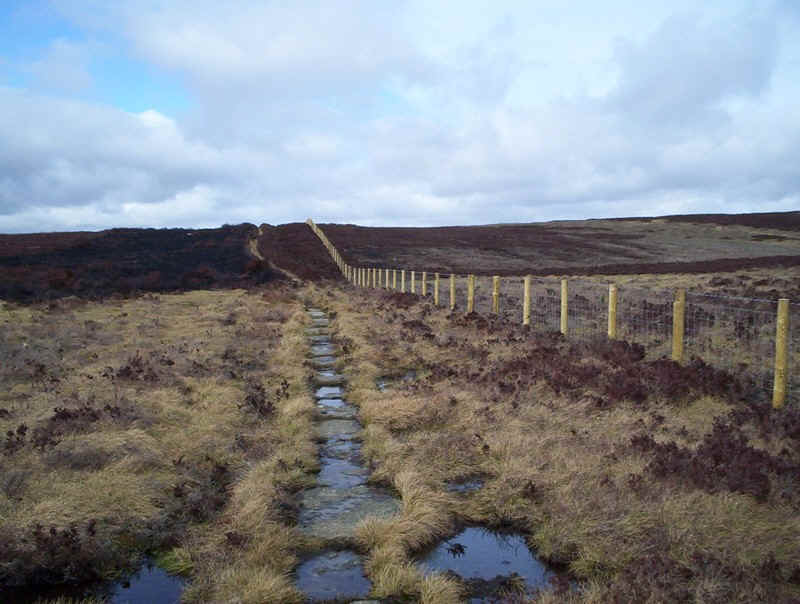
.....and over half submerged flagstones...
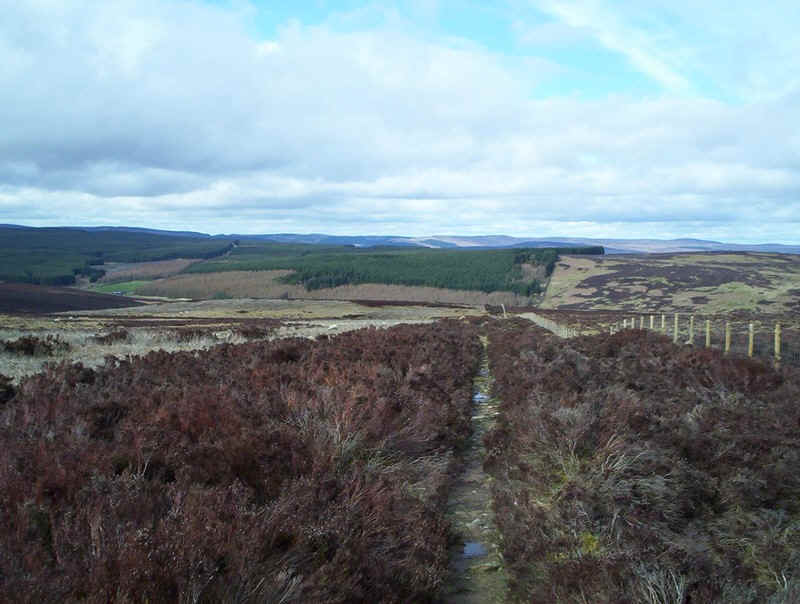
....before gently descending to a stream. Coming into view is the enormous Redesdale Forest, which will be entered shortly.
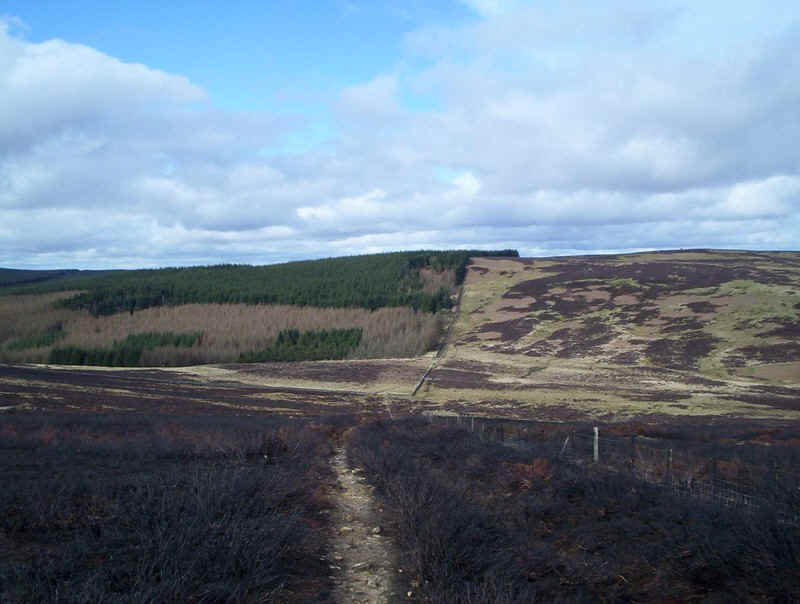
The path drops down.....
.....before the start of a really unpleasant and boggy section from which there is no escape for the next hour or so of the walk. The "path" clambers up a steep and slippery slope by the trees seen in the photo. I decided against taking photographs here.....
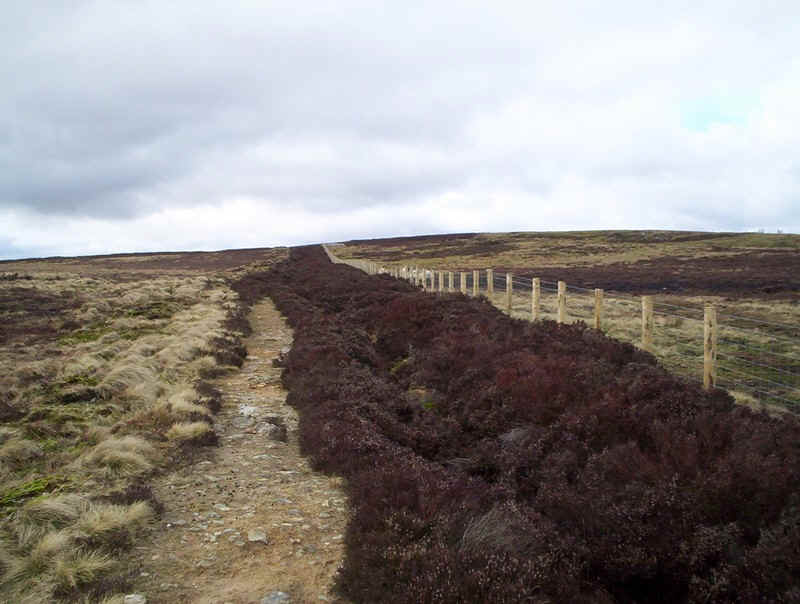
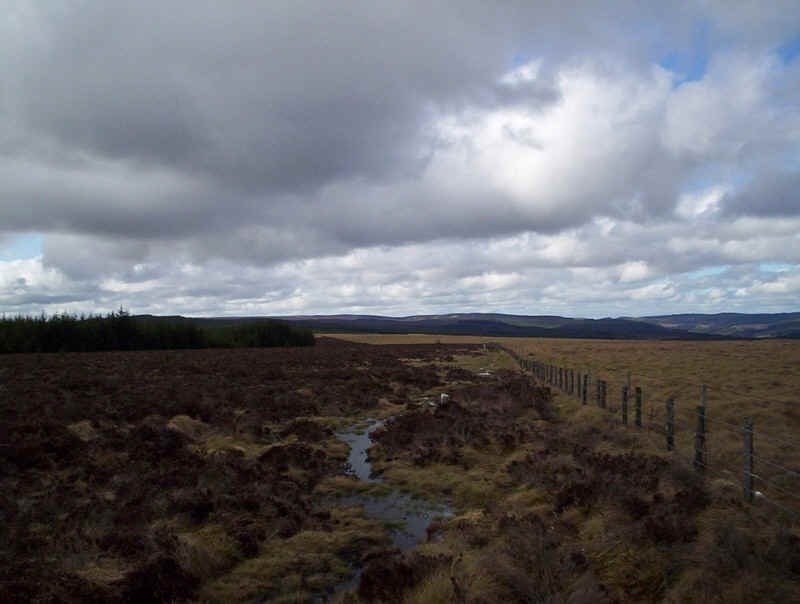
Once this truly horrible climb is over there's a brief respite along the boundary wall...
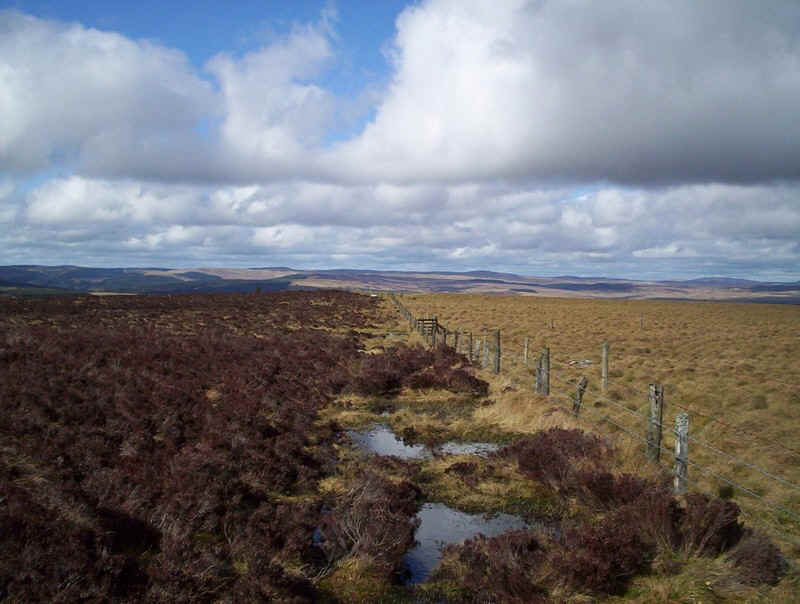
....which is followed north eastwards to Brownrigg Head before turning north west to follow the fence towards Black Hill. This is not a pleasant section and there was no way through without getting increasingly wet feet.
The edge of the forest comes into views....
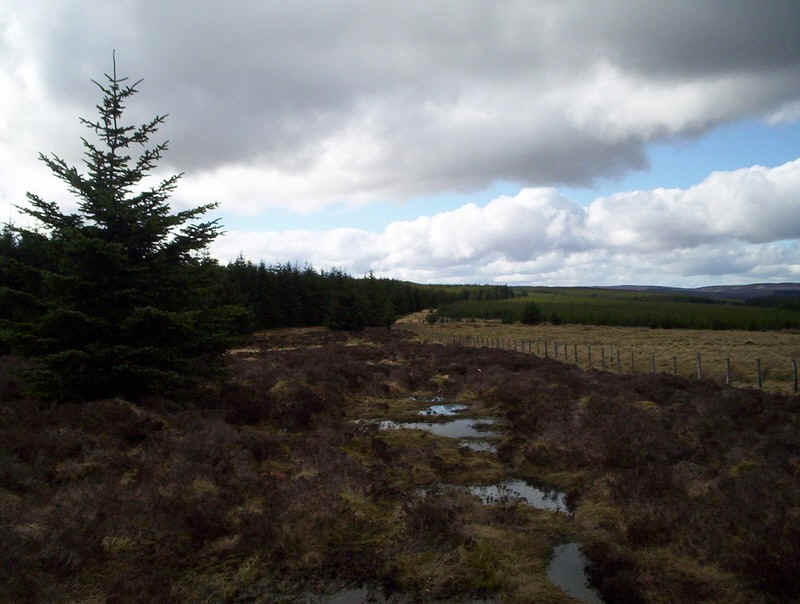
.......but there's no improvement in conditions underfoot. This would be a truly dismal experience on a wet misty day!
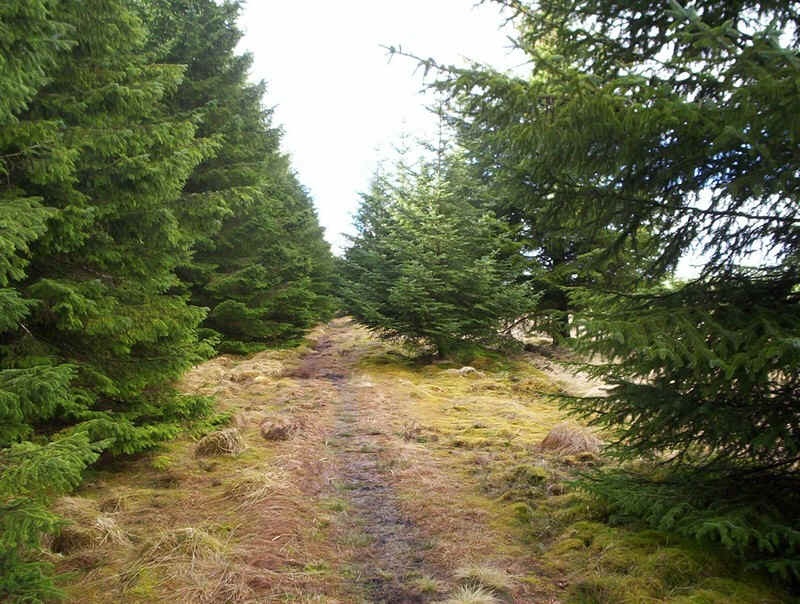
Once in the forest conditions don't improve much at first and there's the added problem of branches getting in the way.
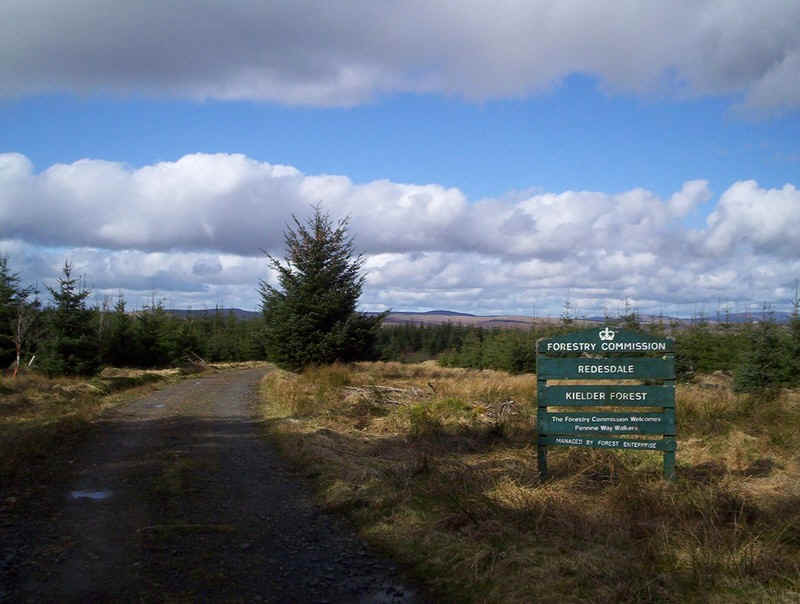
However, eventually the main forest road is reached and this sign welcomes PW walkers to Kielder Forest.
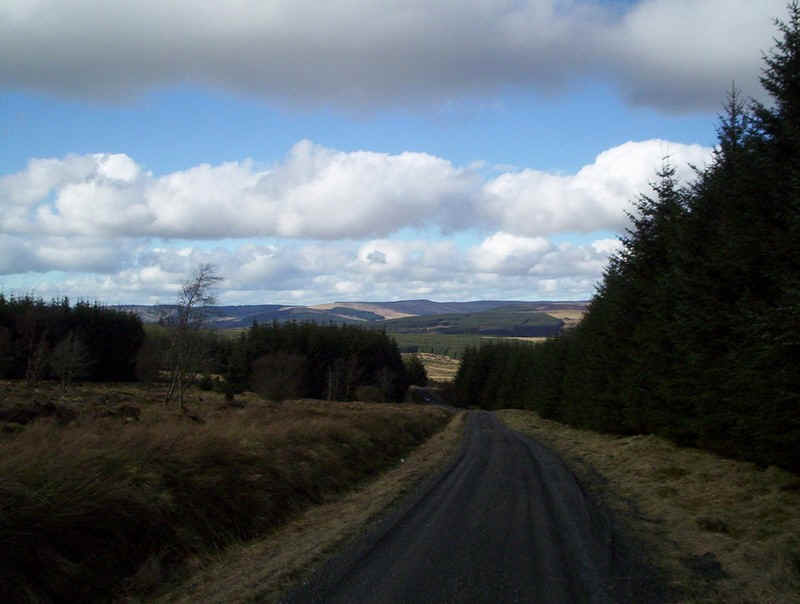
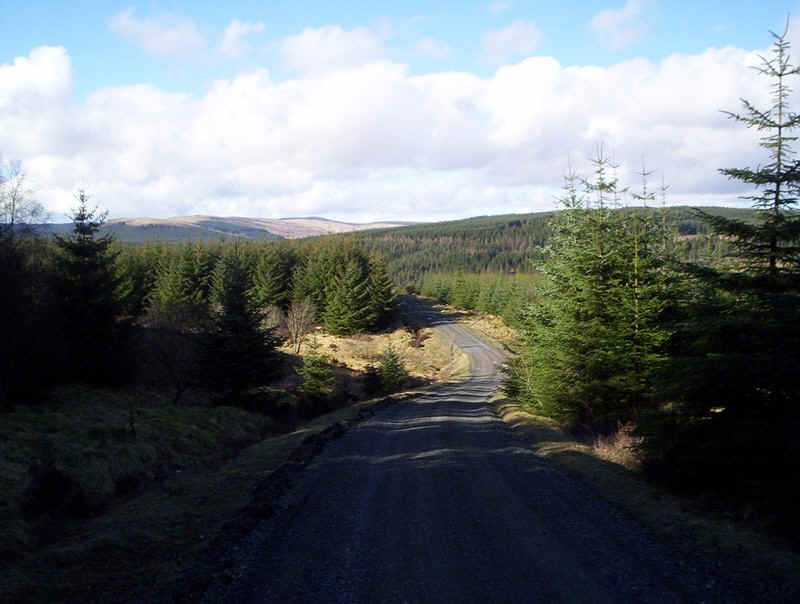
Normally, I do not like walking along forest roads but after the last few hours of poor tracks it was a relief to be able to walk quickly. In truth the walk is quite attractive with good views for much of the way.
There are two short sections where signs direct you off the main forest road onto the PW but unless you are determined to walk every last yard of the PW it might be better to stay on the road as they run parallel to each other. Nevertheless, I stayed true to the PW!

The footpath section soon drops back down to the road...
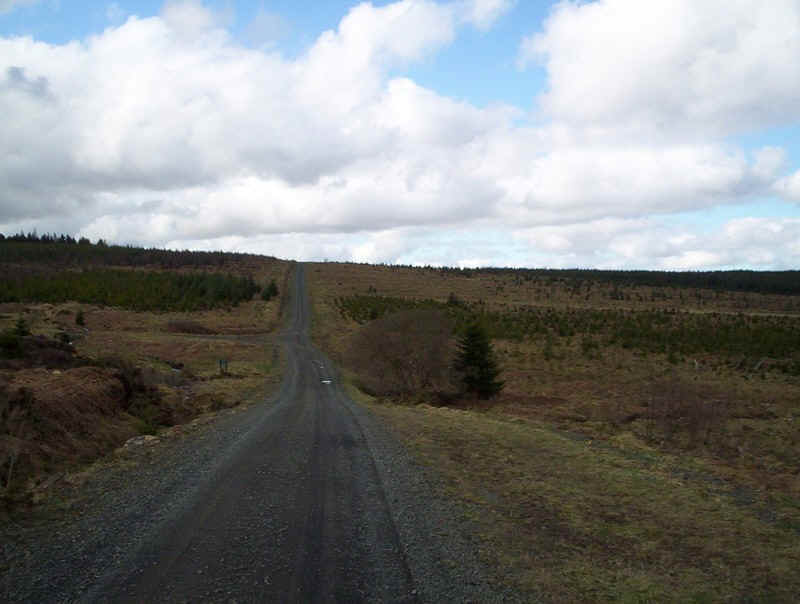
....which continues across a cleared forest section, now thankfully looking less desolate than referred to in some guide books.
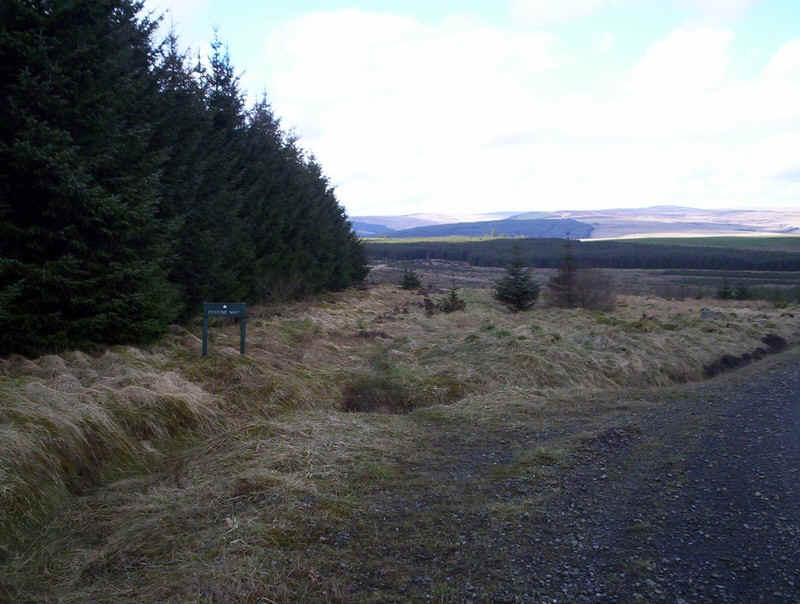
There's another PW section to the left...
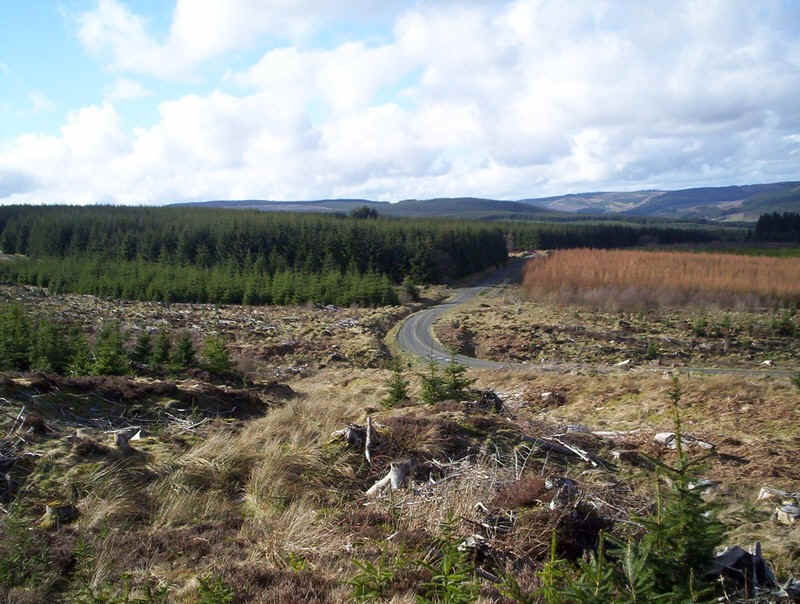
......which drops back down to the road through a cleared section of the forest.
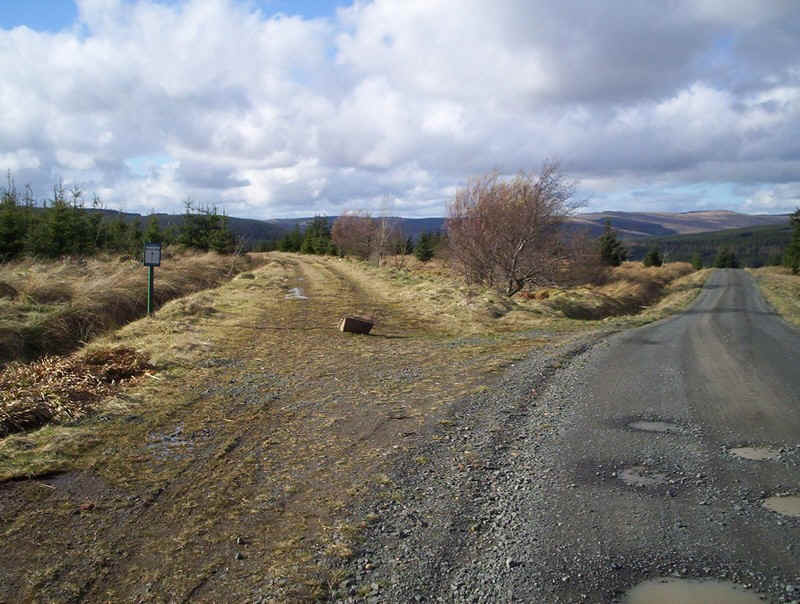
It was a pleasant spring late afternoon as I walked down the forest road....
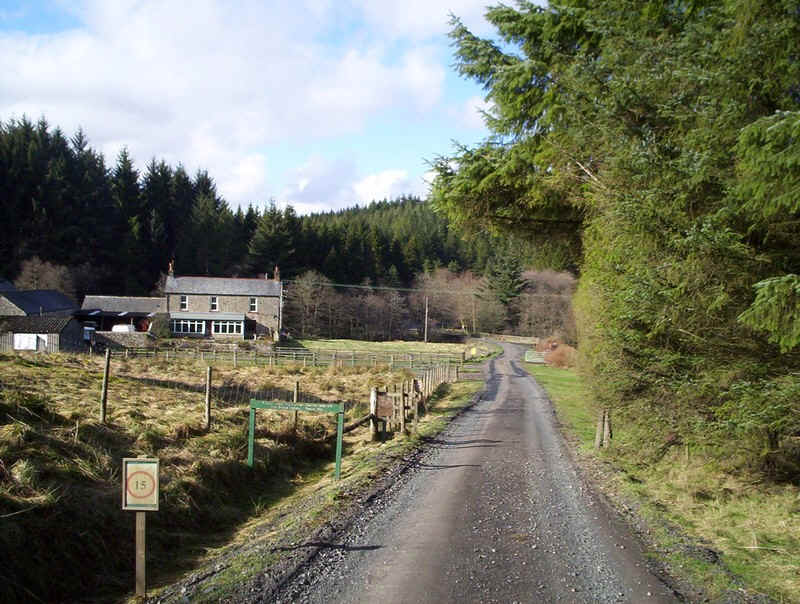
....to reach Blakehopeburnhaugh, the first habitation since passing Hareshaw House nearly four hours earlier. Northumberland is an empty county.
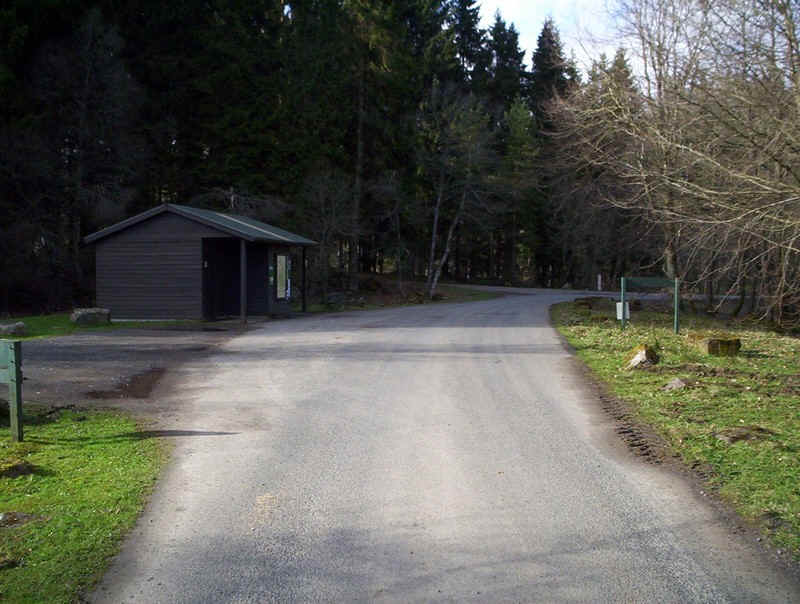
There's a car park, toilets and shelter here...
After crossing the bridge over the River Rede.....

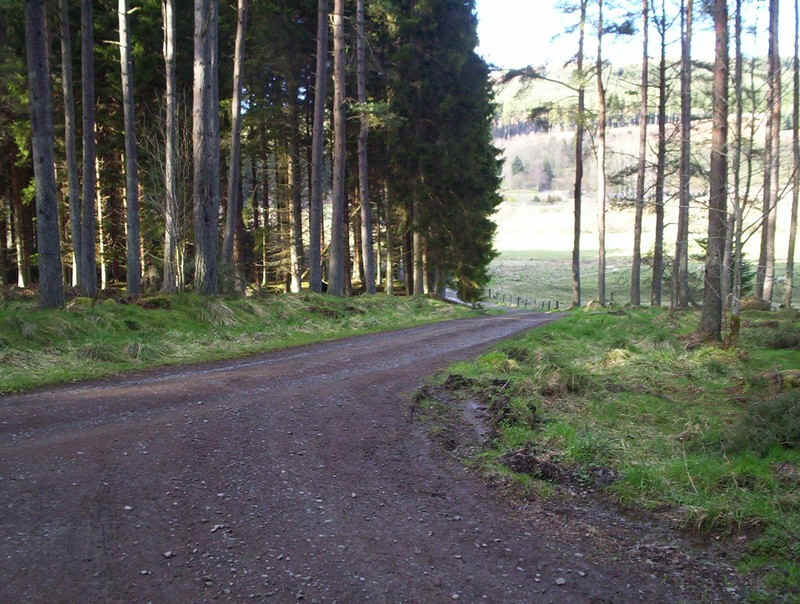
.....the PW turns north westwards through stands of tall fir trees.....
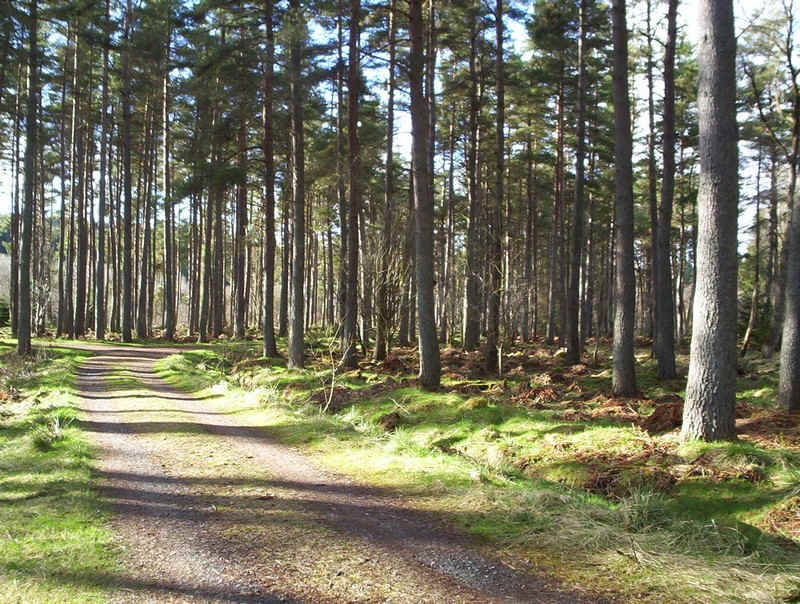
.....with a lovely atmosphere.
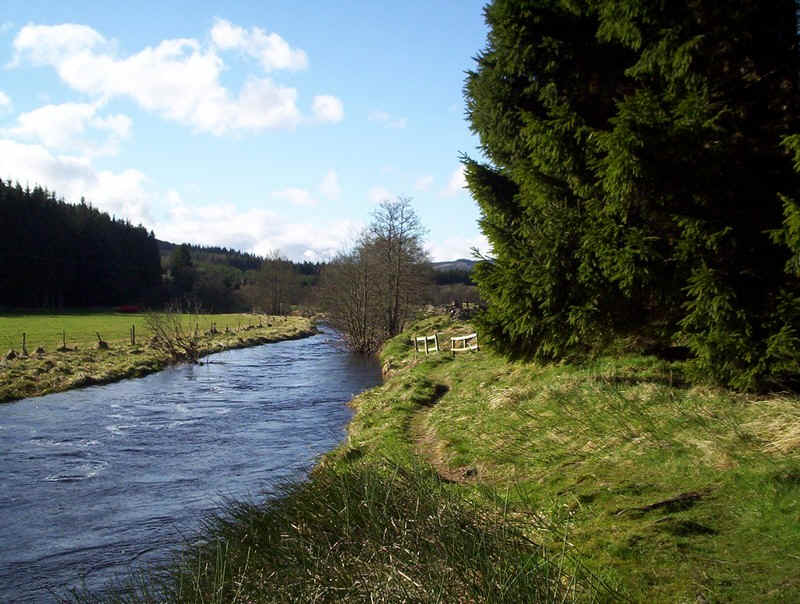
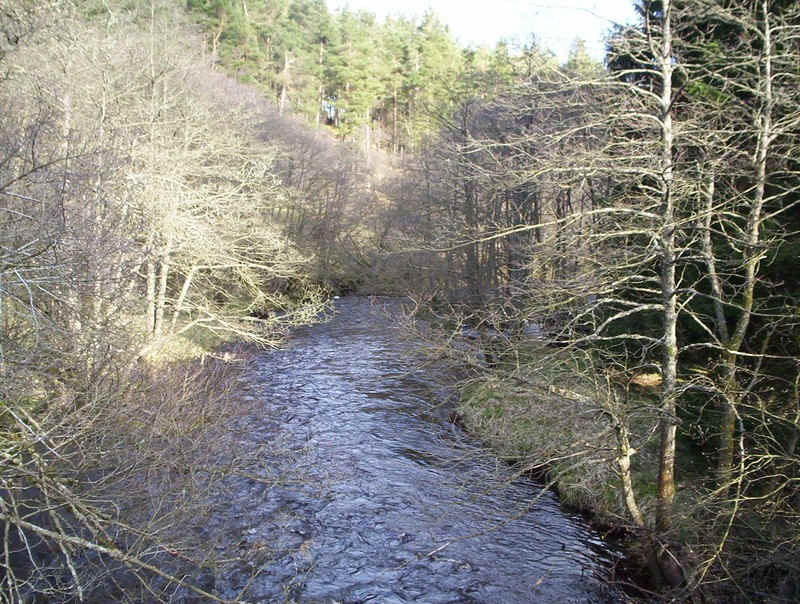
It is soon out of the forest and along the banks of the river Rede, clearly swollen by recent rainfall.
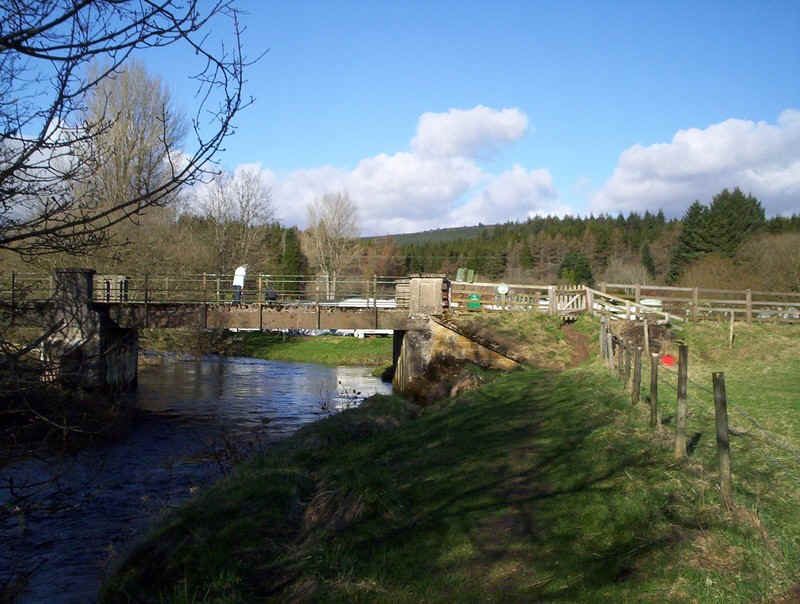
The PW follows the river to this bridge near a caravan park before turning left (no PW way marks along this section)...
.....to head back into the forest ..

.....for a short section,,,
....to a junction down towards the river....
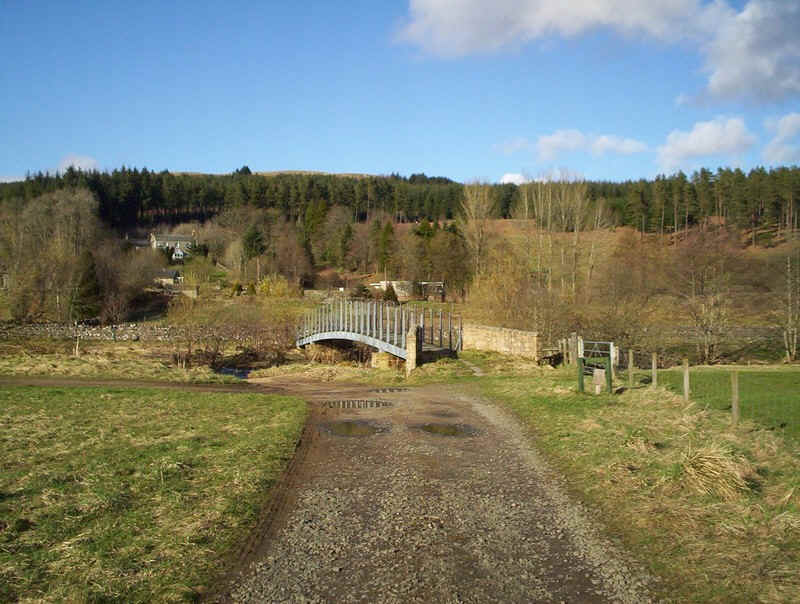
.....where the road crosses the river at a ford - impassable on this day. Fortunately, there's a footbridge....
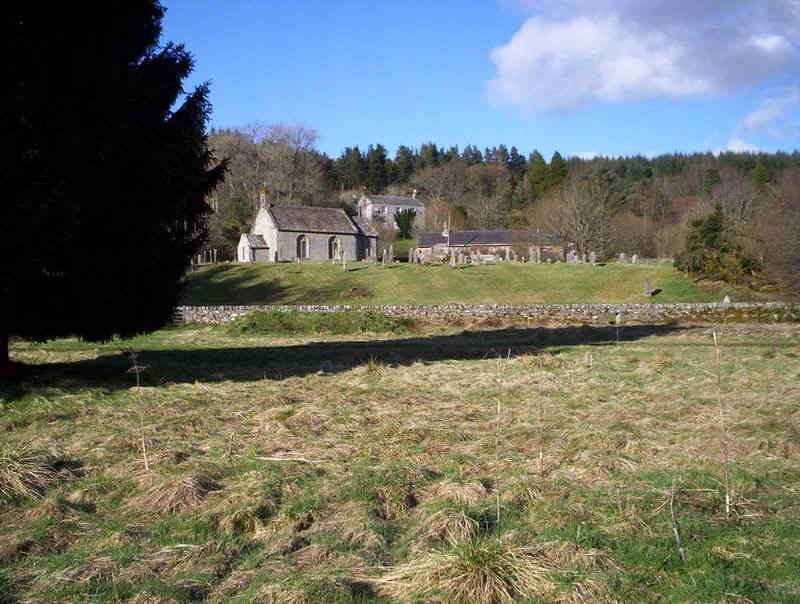
......which leads up to the tiny church at Byrness.
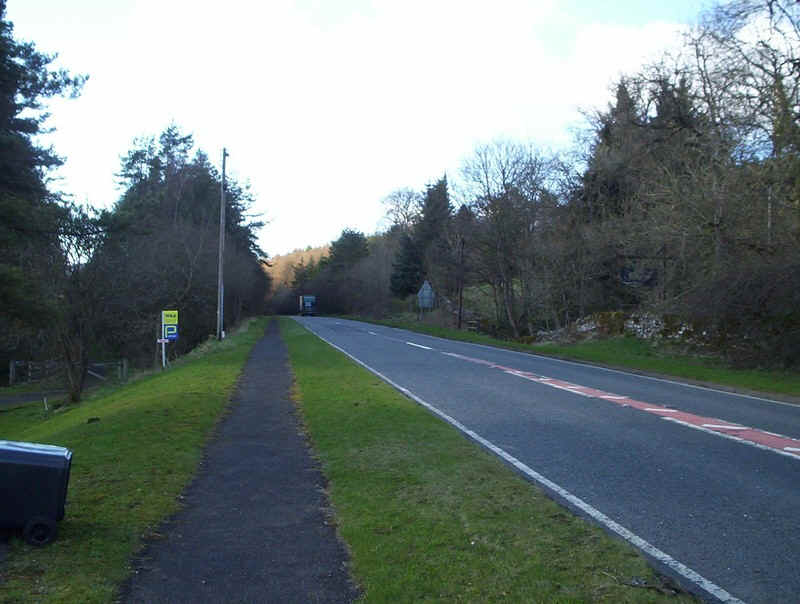
The youth hostel in Byrness is a short distance further on along the main A68 road - fortunately there's a good footpath..

....which leads to the forestry workers village of Byrness.
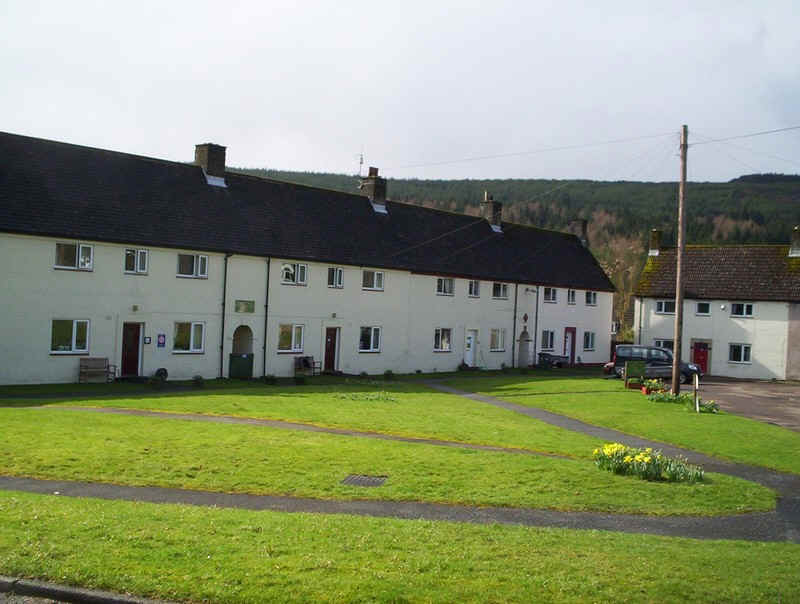
The youth hostel, Forest Lodge, is in this converted row of houses and is highly recommended. I enjoyed a two course meal and a bottle of wine for just £10.50. Breakfast is a continental style with a wide choice and serve yourself relying on the walker's honesty to pay for each item consumed. Clearly, this is an excellent idea allowing the walker to start the next days trek to Kirk Yetholm as early as required.
For those who wish to break up this long section the hostel offers a reasonably priced delivery and collection service to the mid point for your baggage. Oh! You can travel with your bags as well!